Account Setup
Now that your development tools are installed, let's set up the online accounts you'll need for this workshop. We'll create and configure both GitHub and Cloudflare accounts.
1. GitHub Account Setup
What is GitHub? GitHub is a cloud-based platform where developers store and manage their code repositories. It's essential for version control and collaboration.
Create GitHub Account (if needed)
Already have a GitHub account?
- Yes: Perfect! Make sure you can log in at github.com
- ❌ No: Follow the steps below to create one
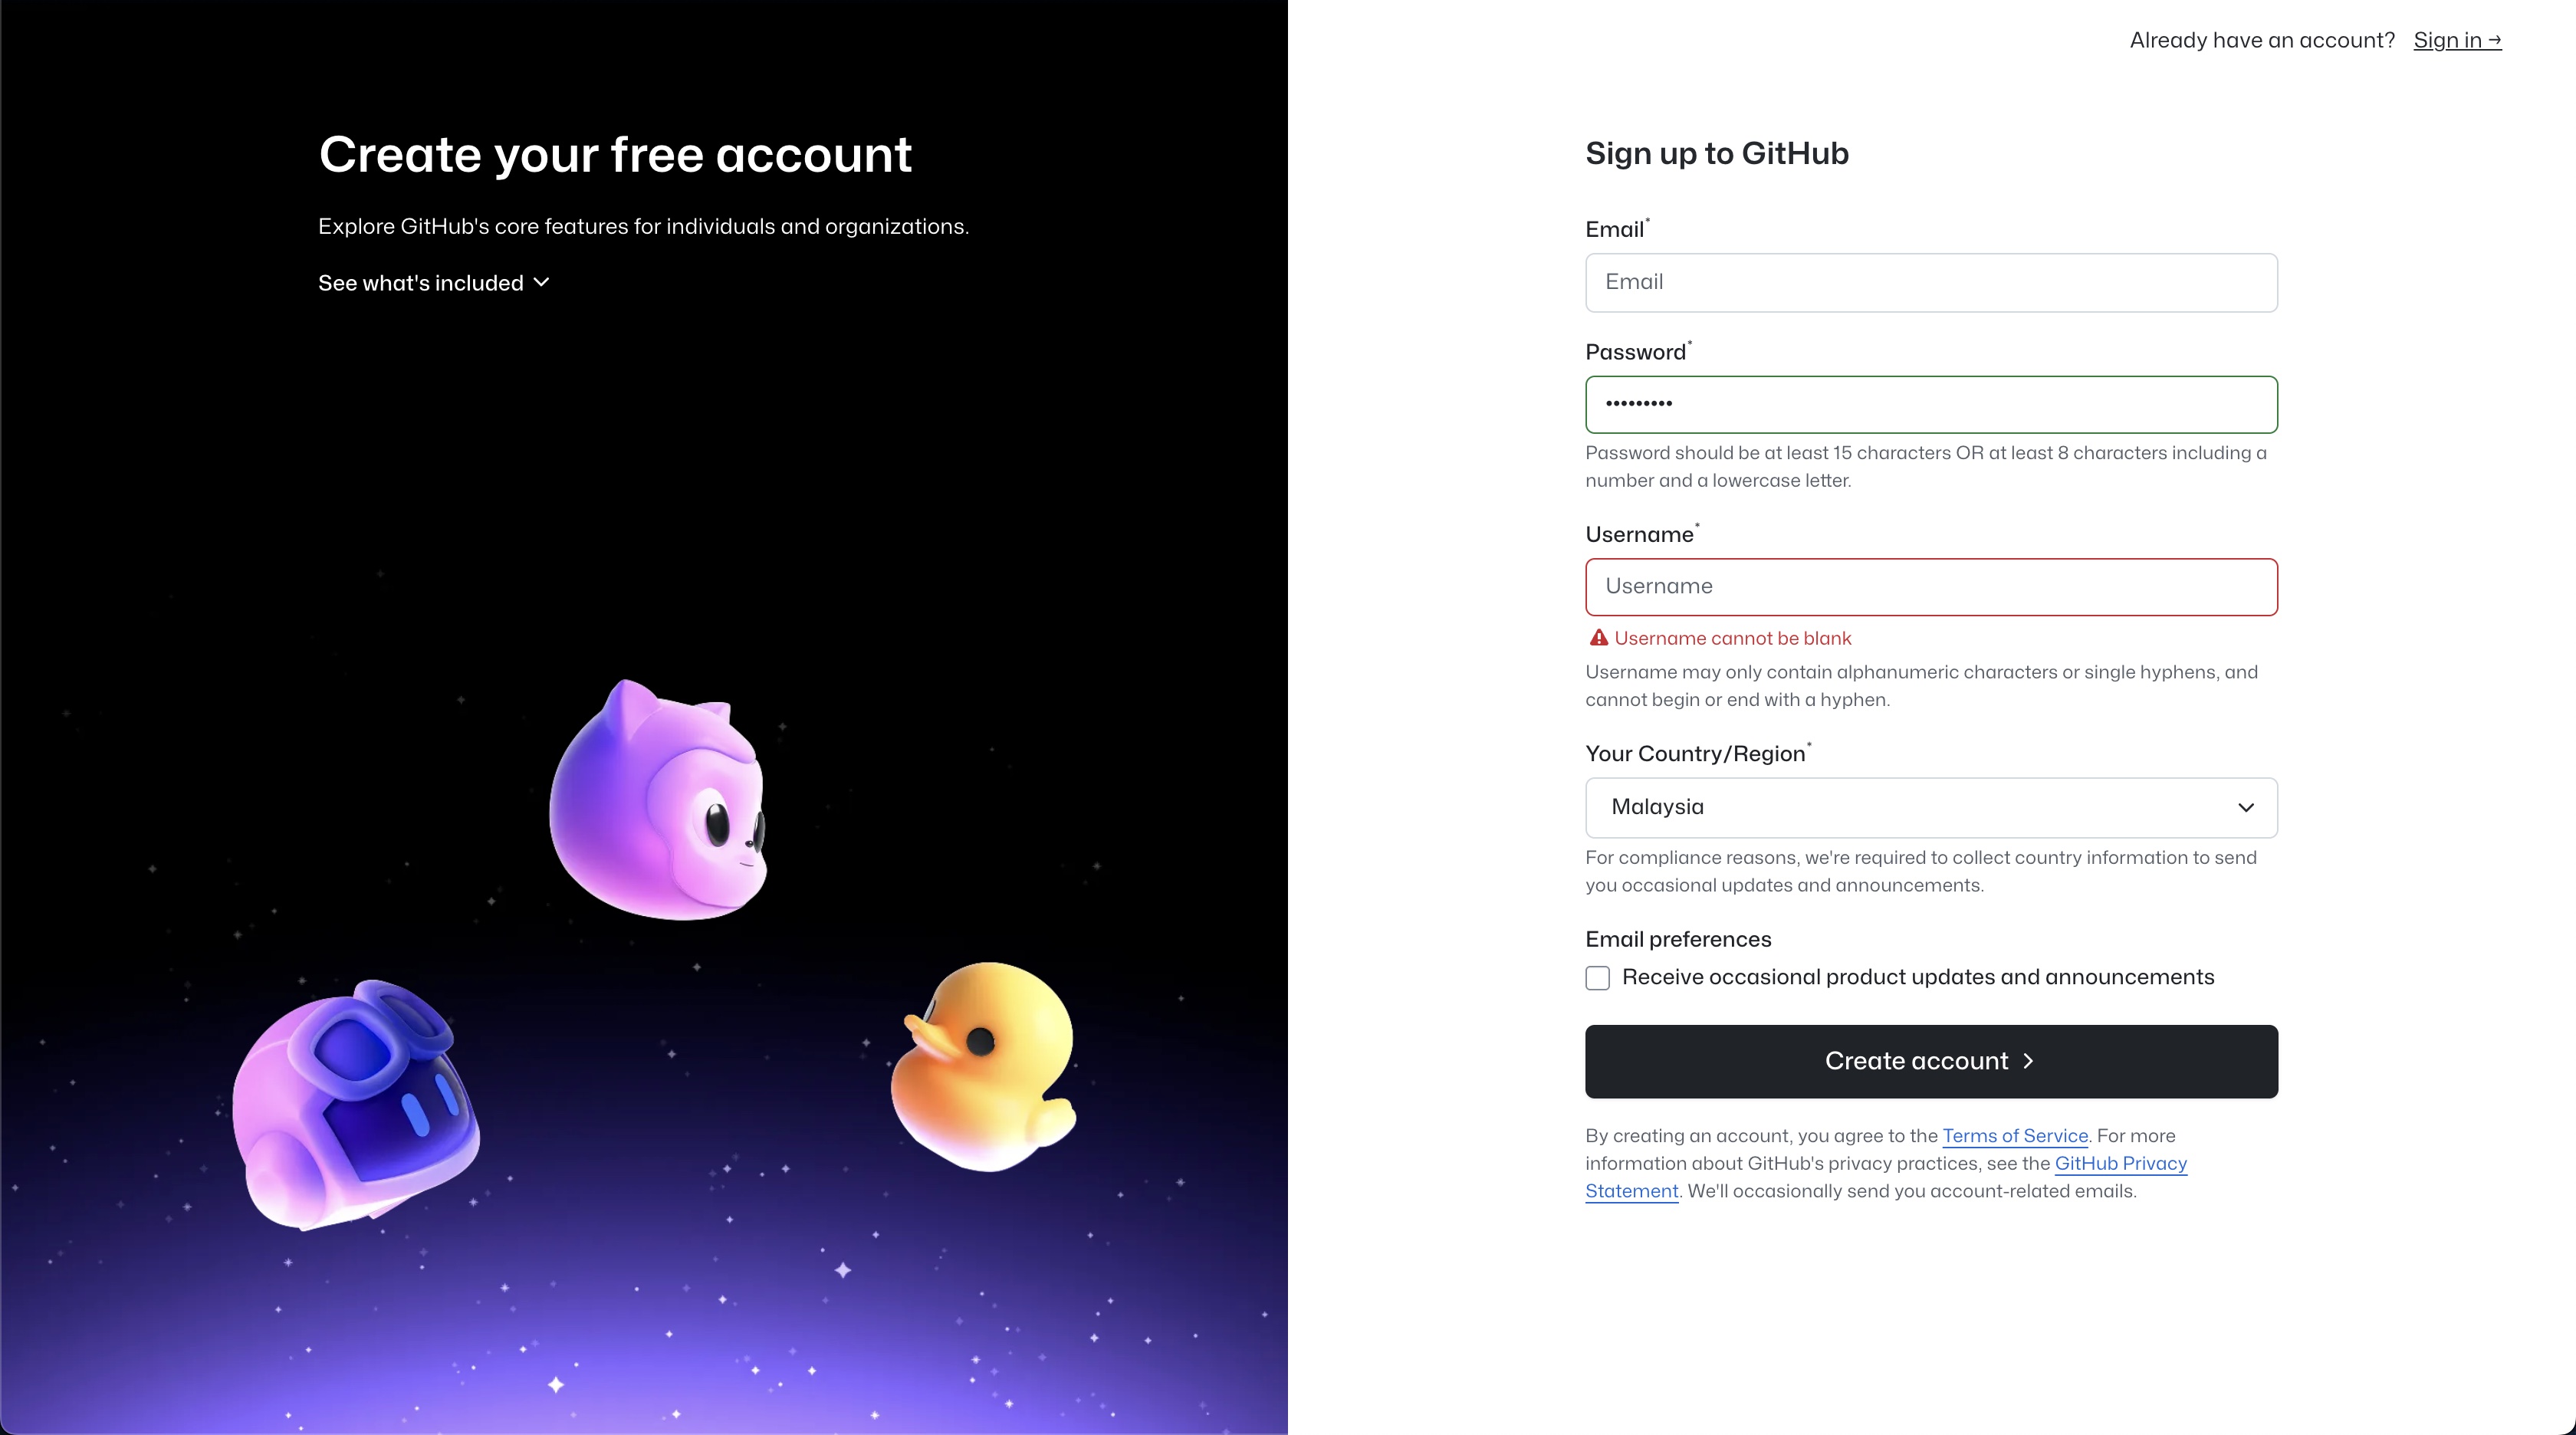
Create New Account:
- Visit github.com
- Click "Sign up" in the top-right corner
- Choose a username (this will be part of your repository URLs)
- Provide your email address
- Create a strong password
- Complete the verification process
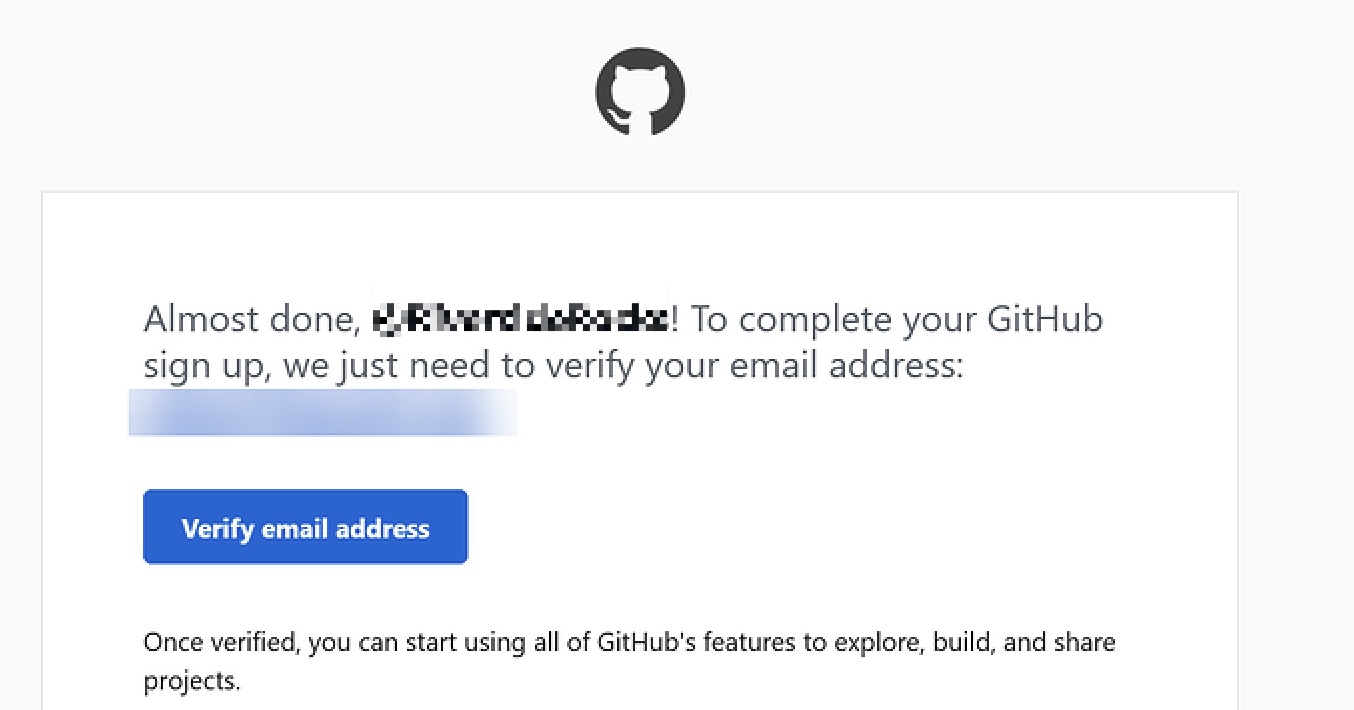
Verify GitHub Access
After creating your account:
- Log in to github.com
- Verify your email address (check your inbox for a verification email)
- Complete your profile setup (optional but recommended)
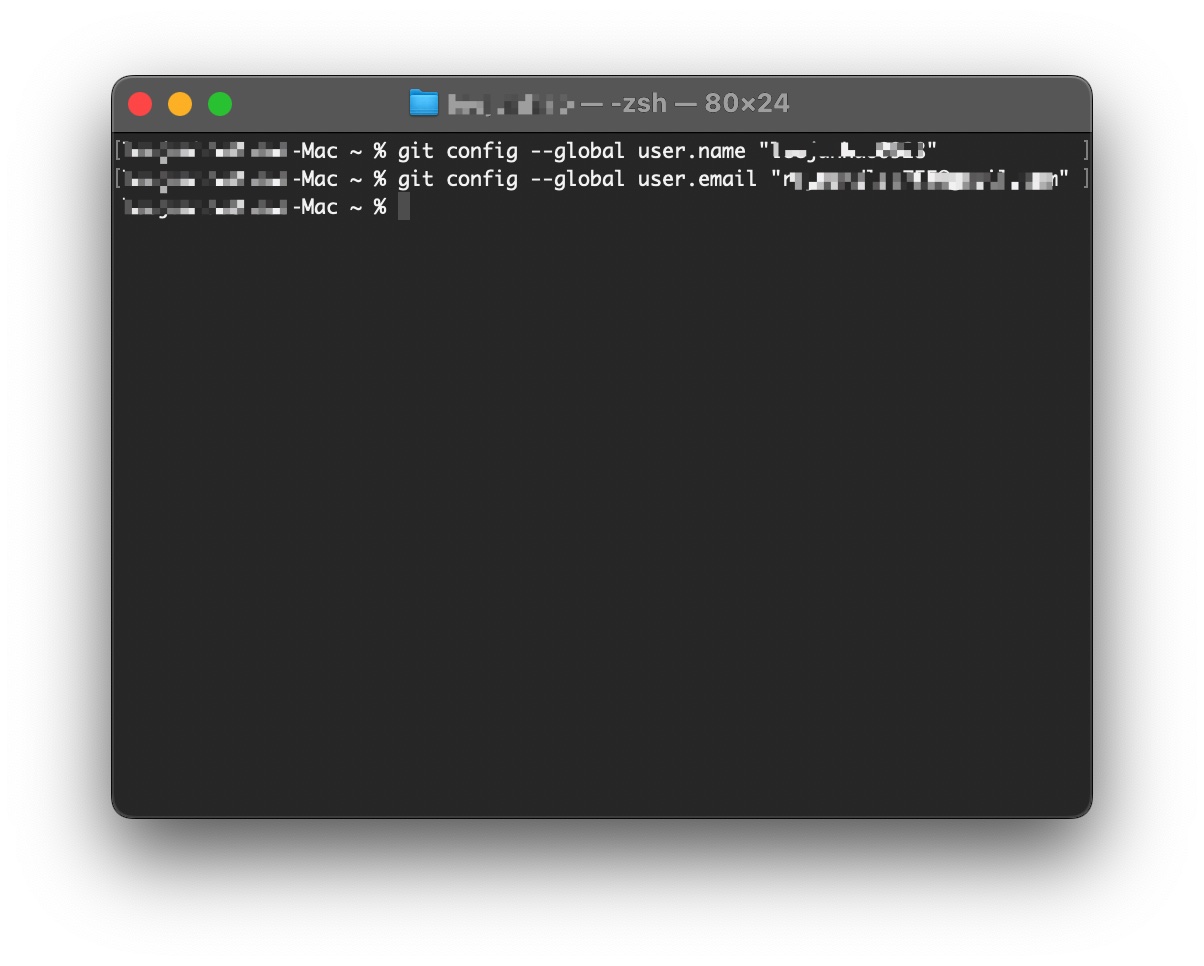
Configure Git with GitHub
Link your local Git installation with your GitHub account:
git config --global user.name "Your GitHub Username"
git config --global user.email "your-github-email@example.com"
Important: Use the same email address associated with your GitHub account.
2. Cloudflare Account Setup
What is Cloudflare? Cloudflare is a cloud platform that provides serverless computing, CDN, and other web services. We'll deploy our application to Cloudflare's global network.
Create Cloudflare Account
Already have a Cloudflare account?
- Yes: Great! Make sure you can log in at dash.cloudflare.com
- ❌ No: Follow the steps below
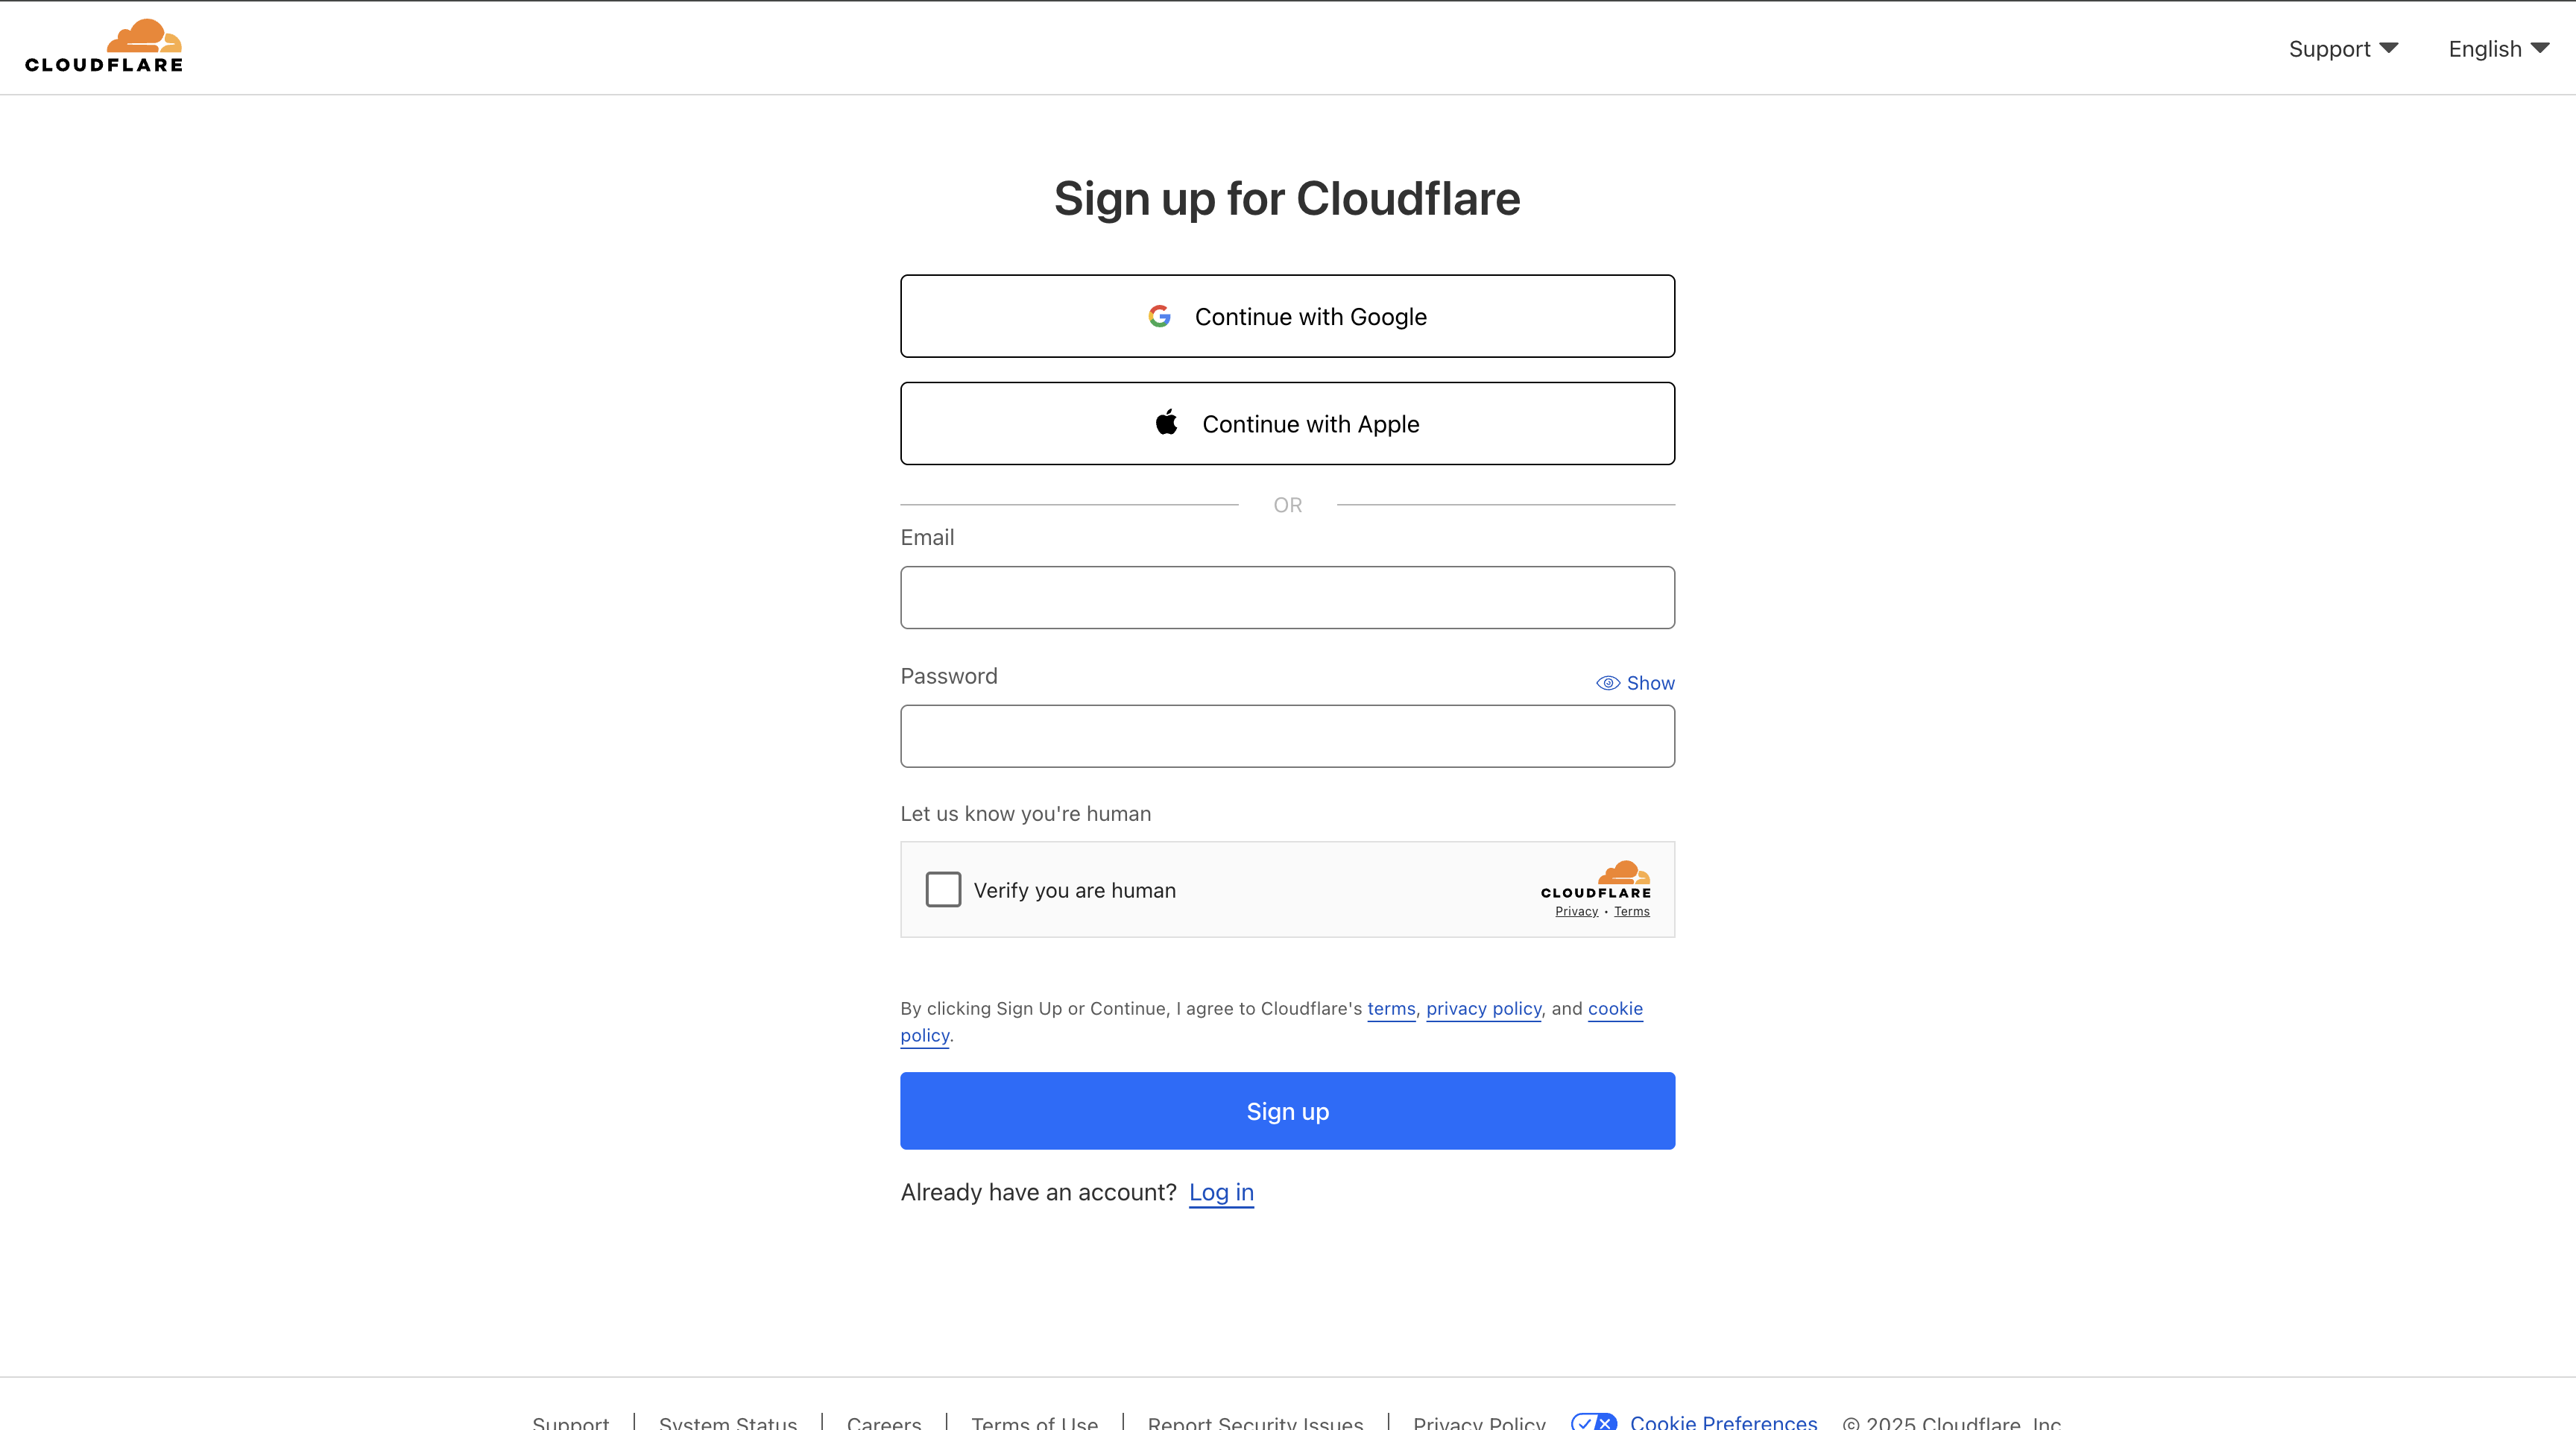
Create New Account:
- Visit cloudflare.com
- Click "Sign up"
- Enter your email address and create a password
- Verify your email address
- Complete the account setup process
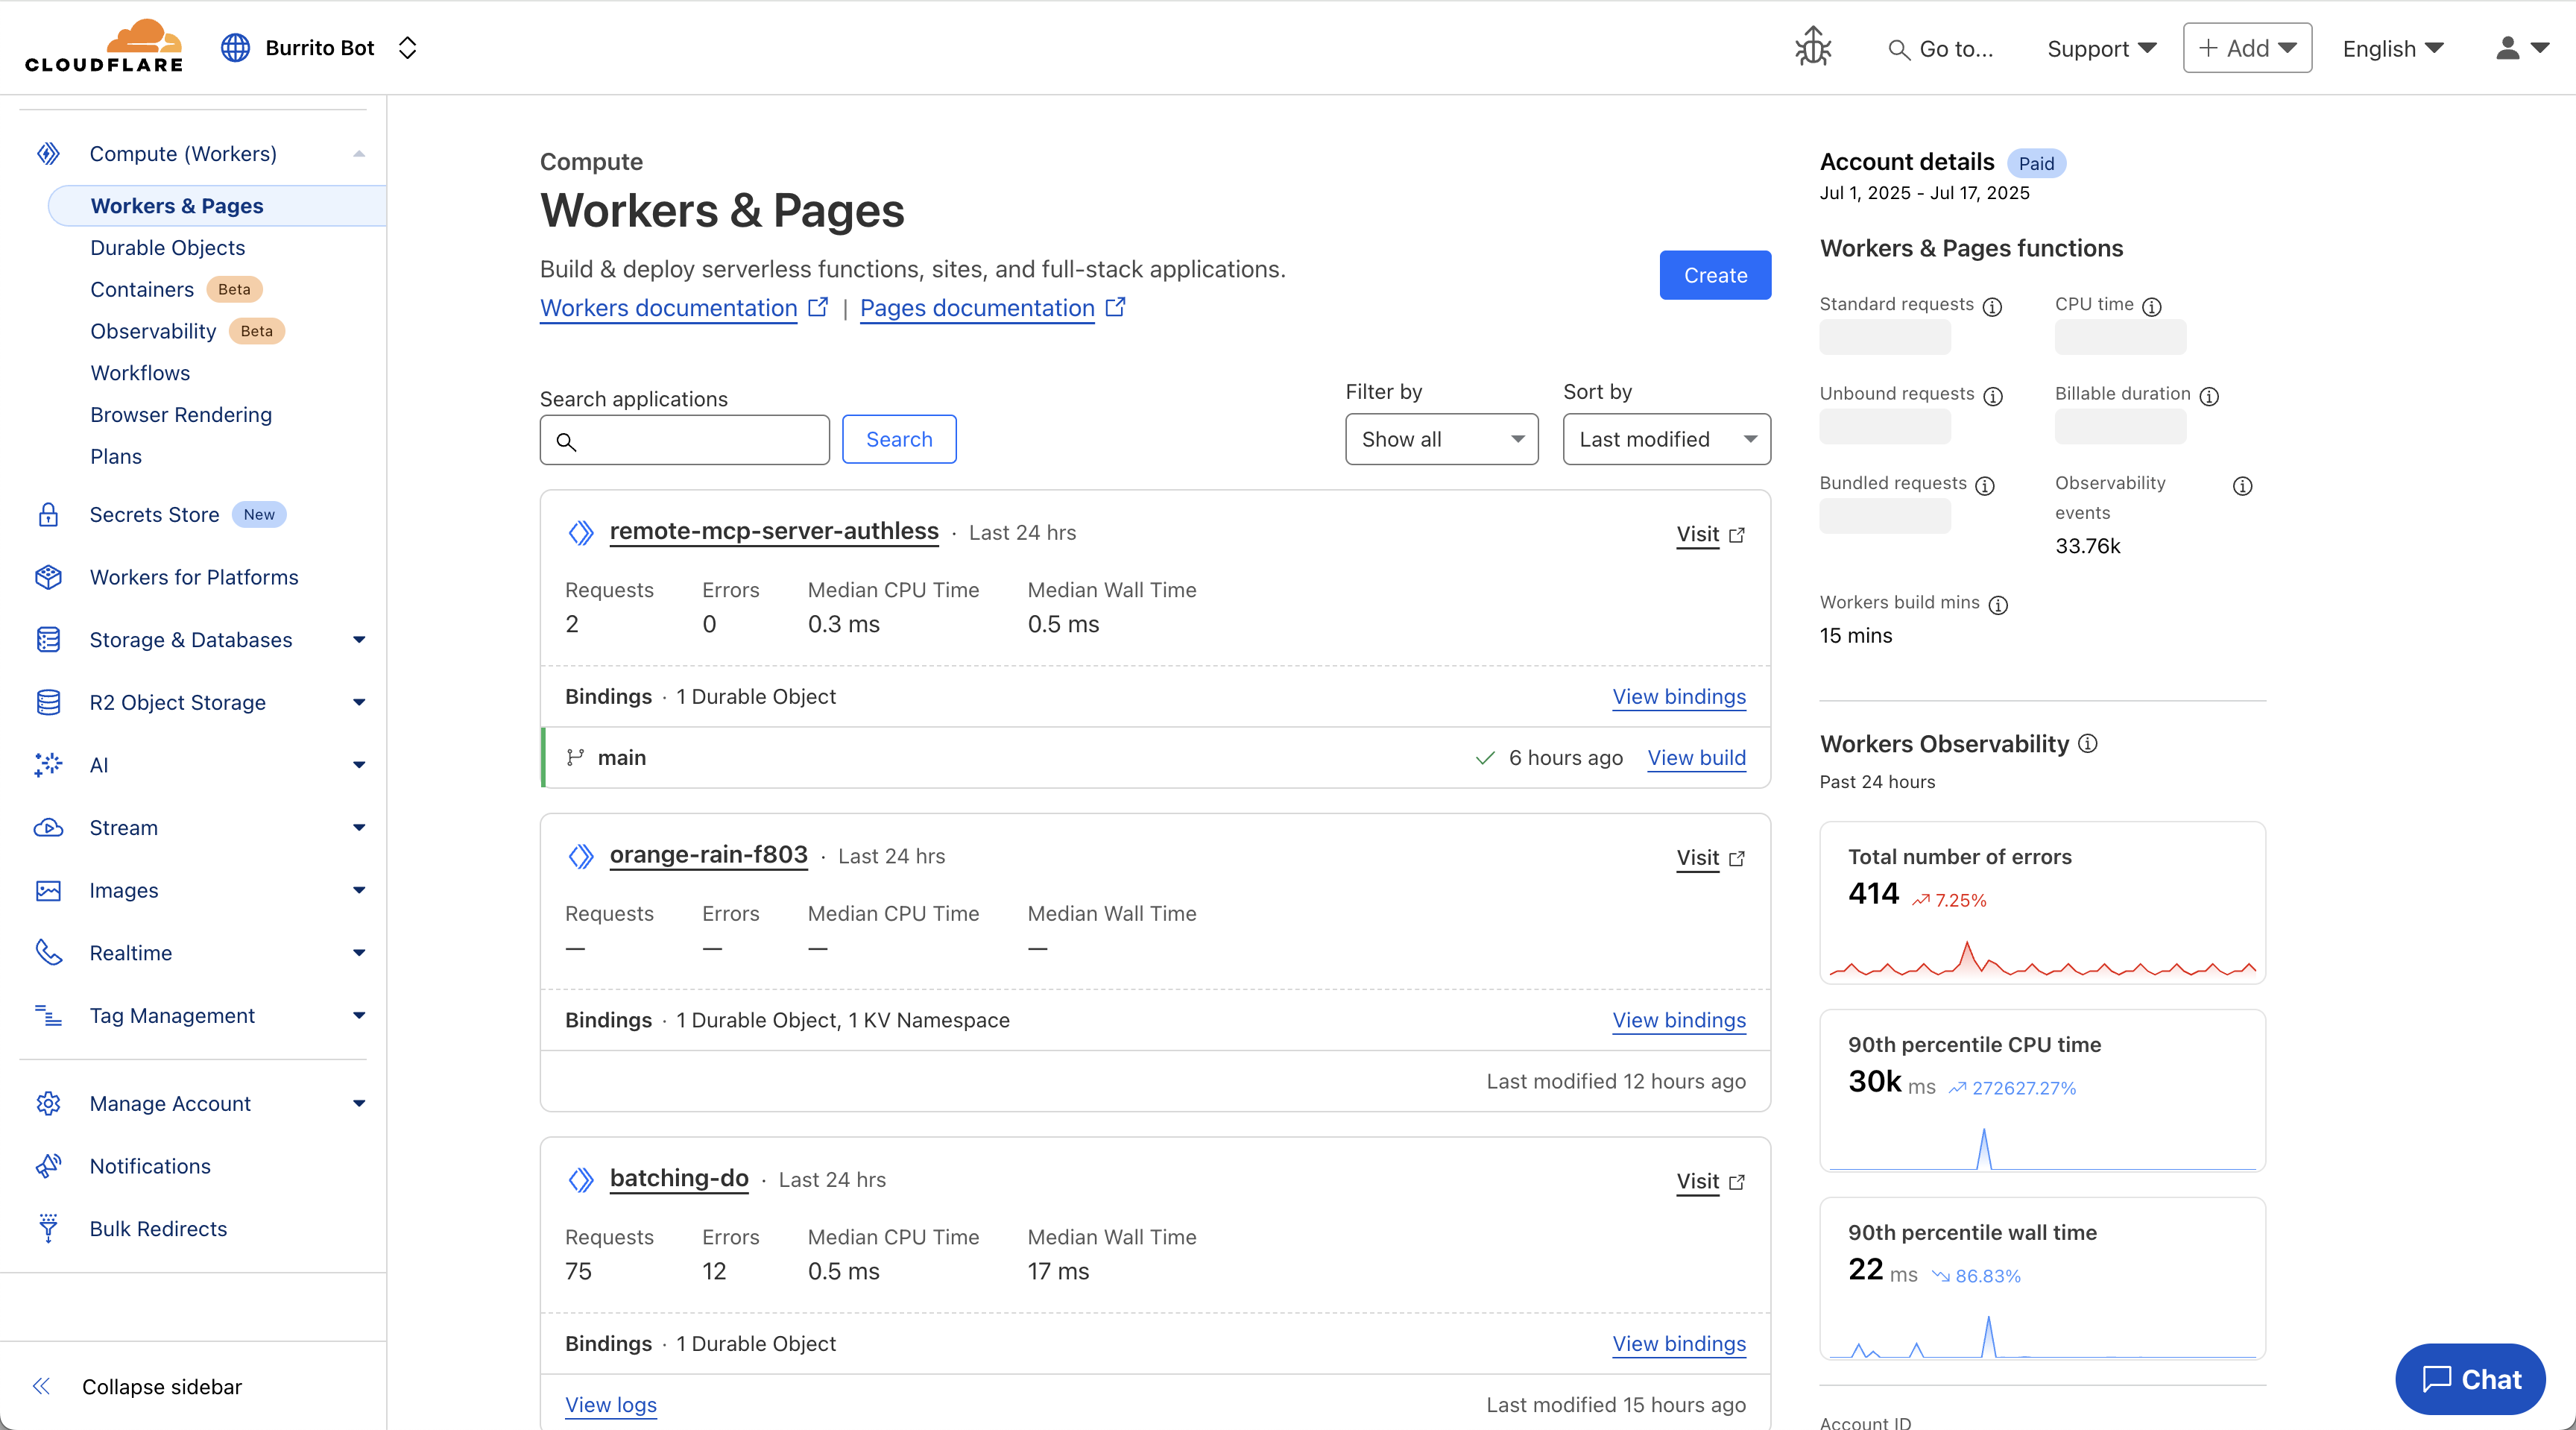
Explore Cloudflare Dashboard
After creating your account:
- Log in to dash.cloudflare.com
- Familiarize yourself with the dashboard layout
- Note the main navigation sections:
- Workers & Pages: Where we'll deploy our applications
- R2 Object Storage: For file storage
- D1: For our database
3. Wrangler Authentication
Now we'll connect the Wrangler CLI tool to your Cloudflare account for seamless deployment.
Authenticate Wrangler
Run the authentication command:
wrangler login
Complete Authentication Process
What happens next:
- Your default web browser will open automatically
- You'll be redirected to Cloudflare's authentication page
- If you're not already logged in, enter your Cloudflare credentials
- Review the permissions Wrangler is requesting
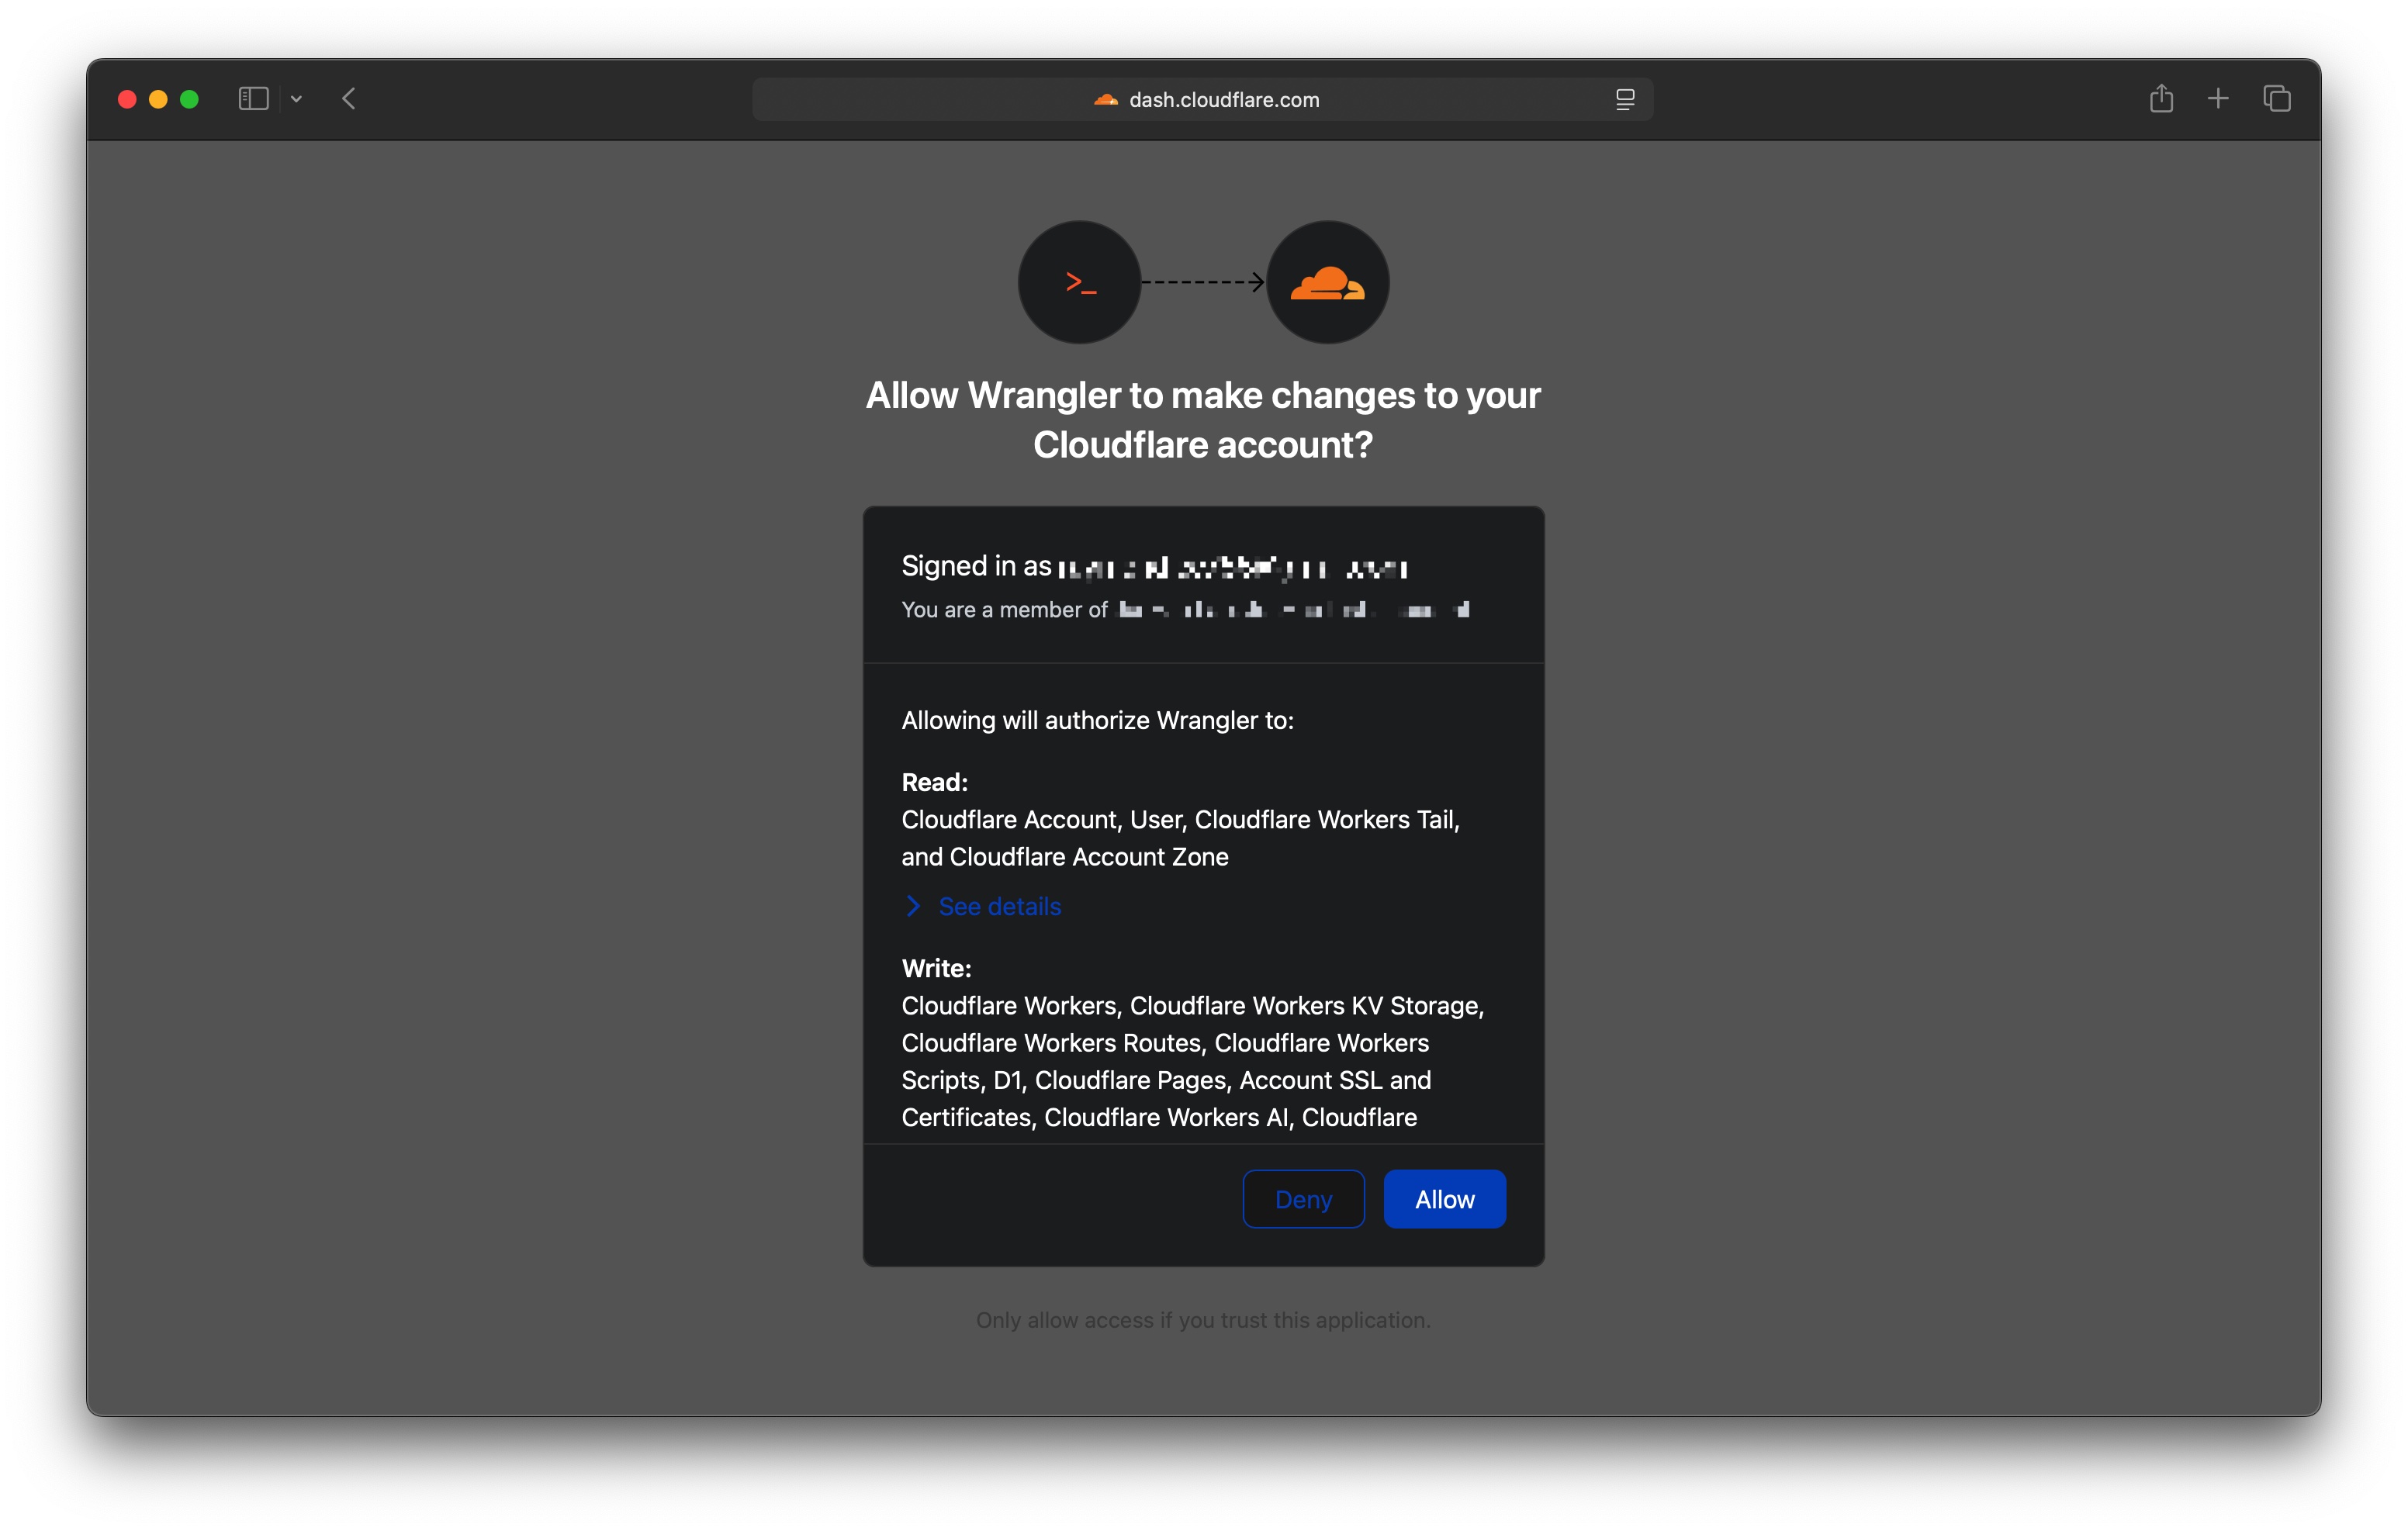
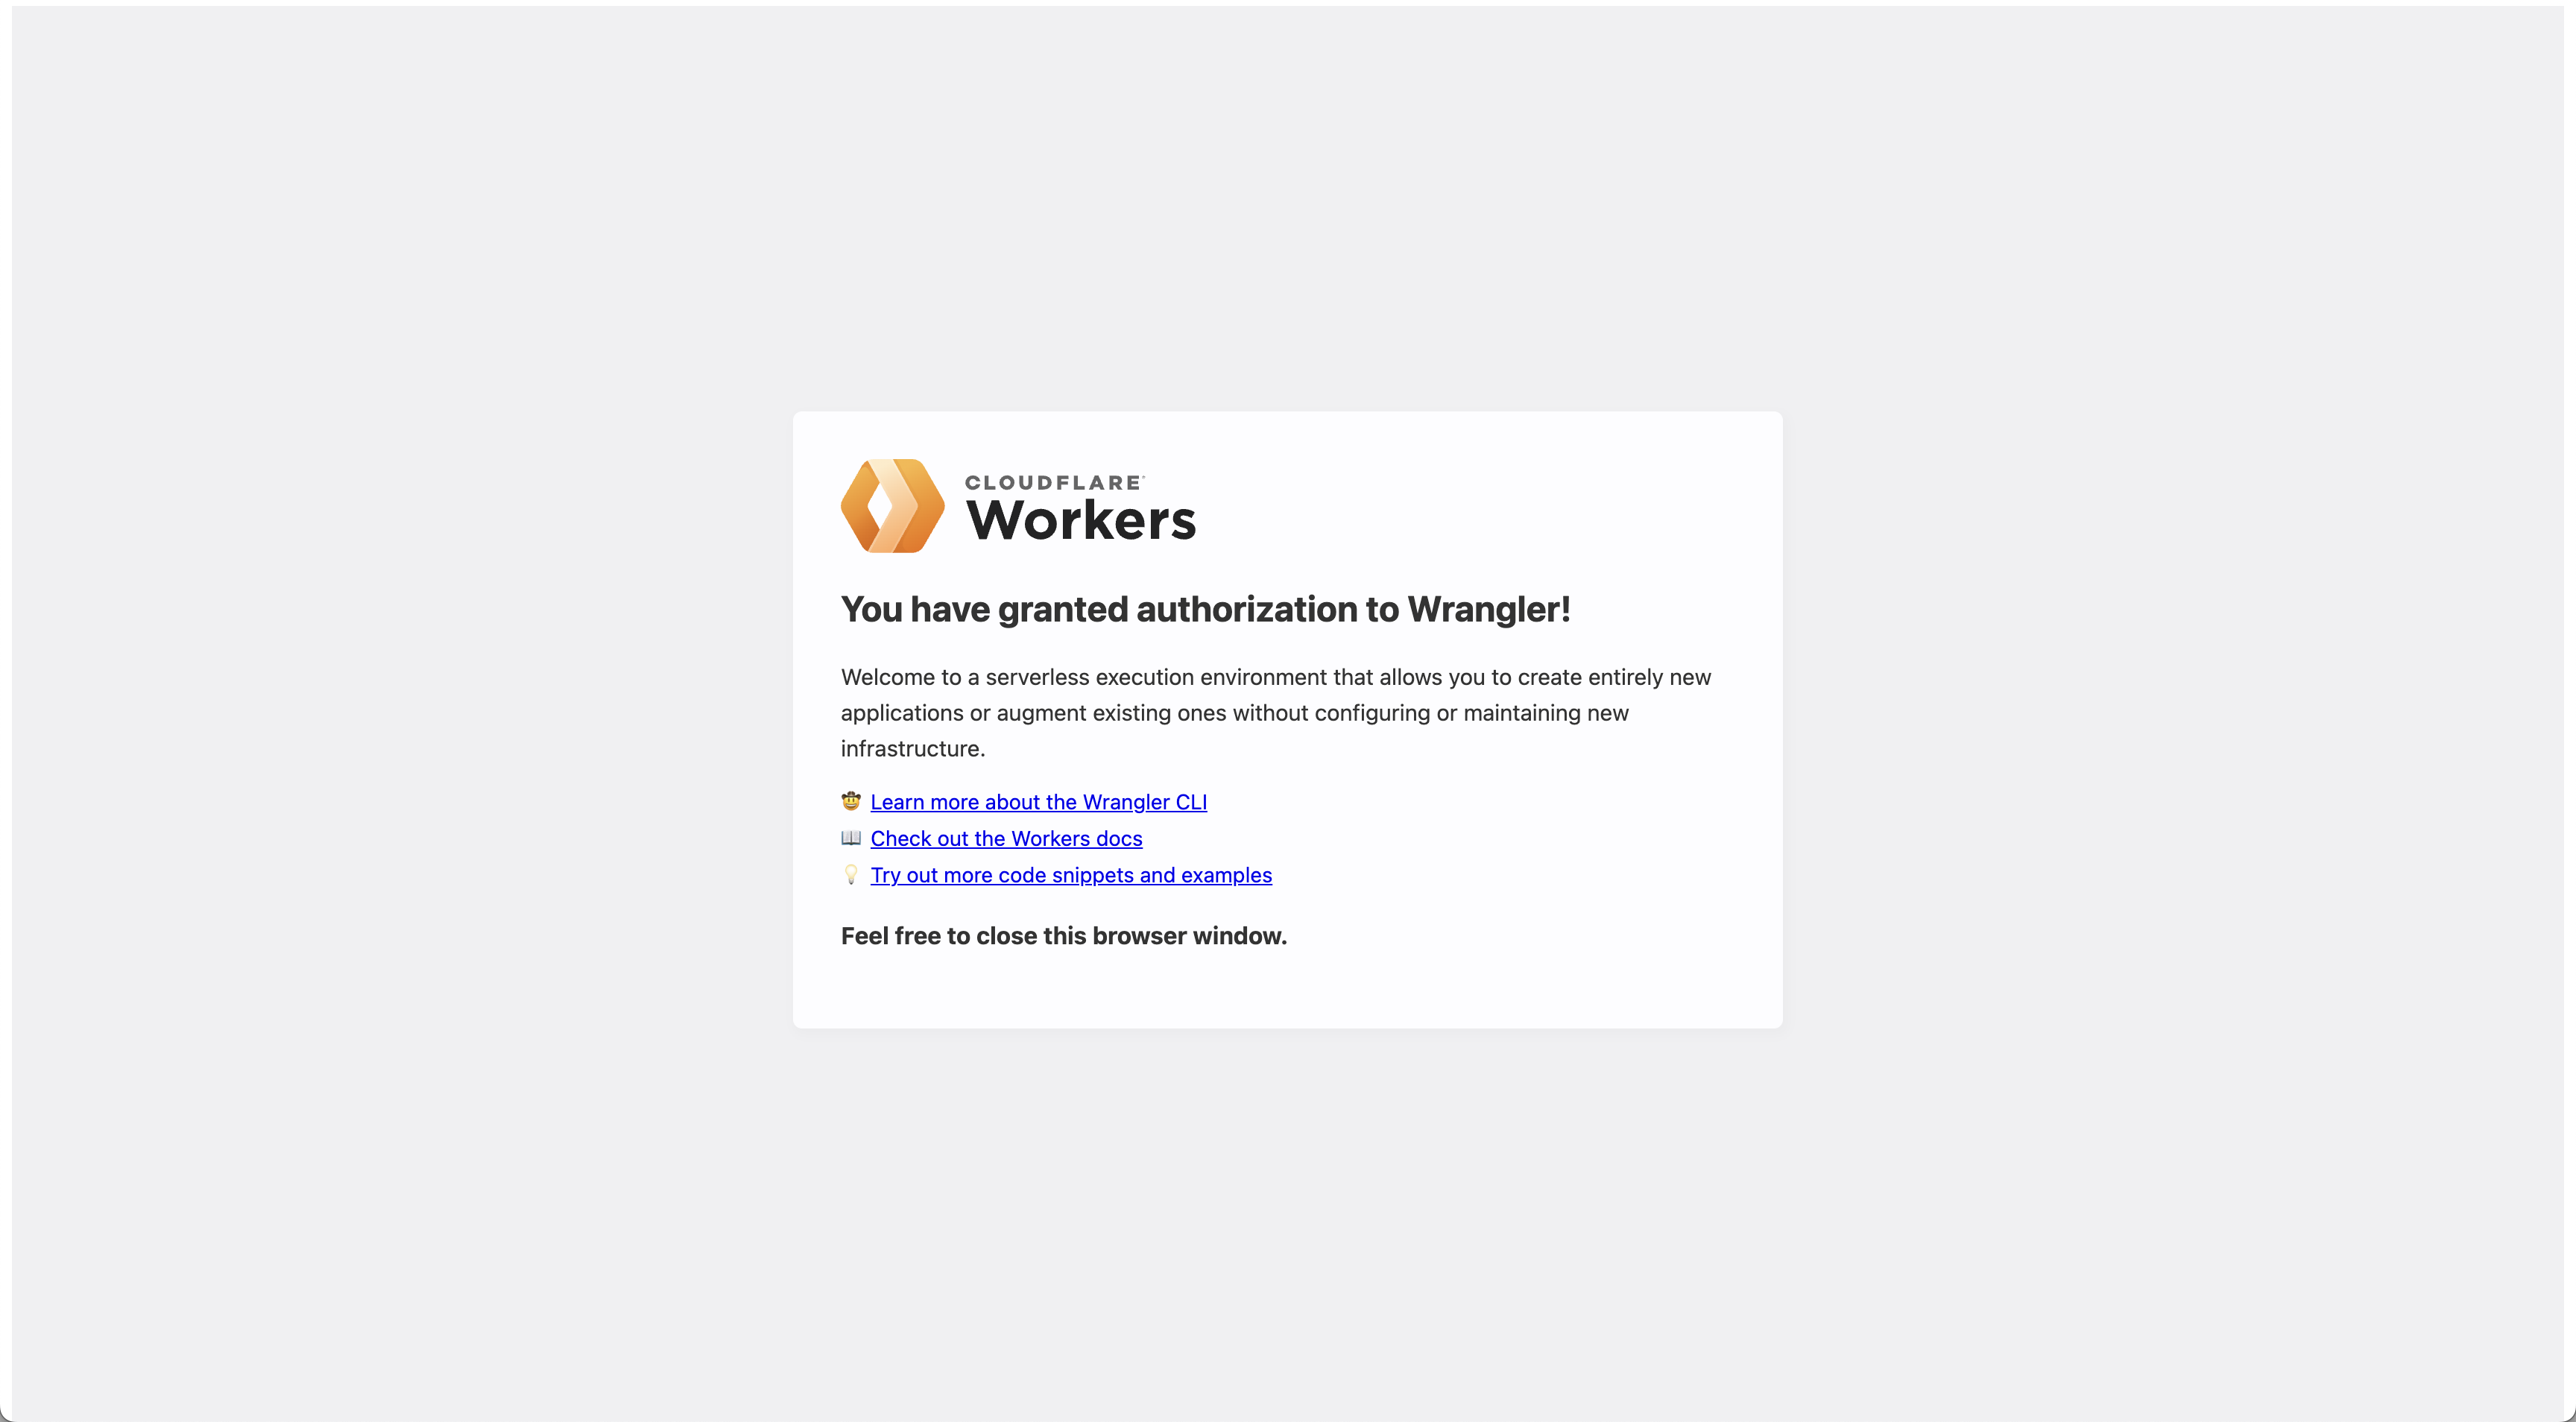
Grant Permission:
- Review the permissions carefully
- Click "Allow" to grant Wrangler access to your Cloudflare account
- You should see a success message in your browser
- Return to your terminal
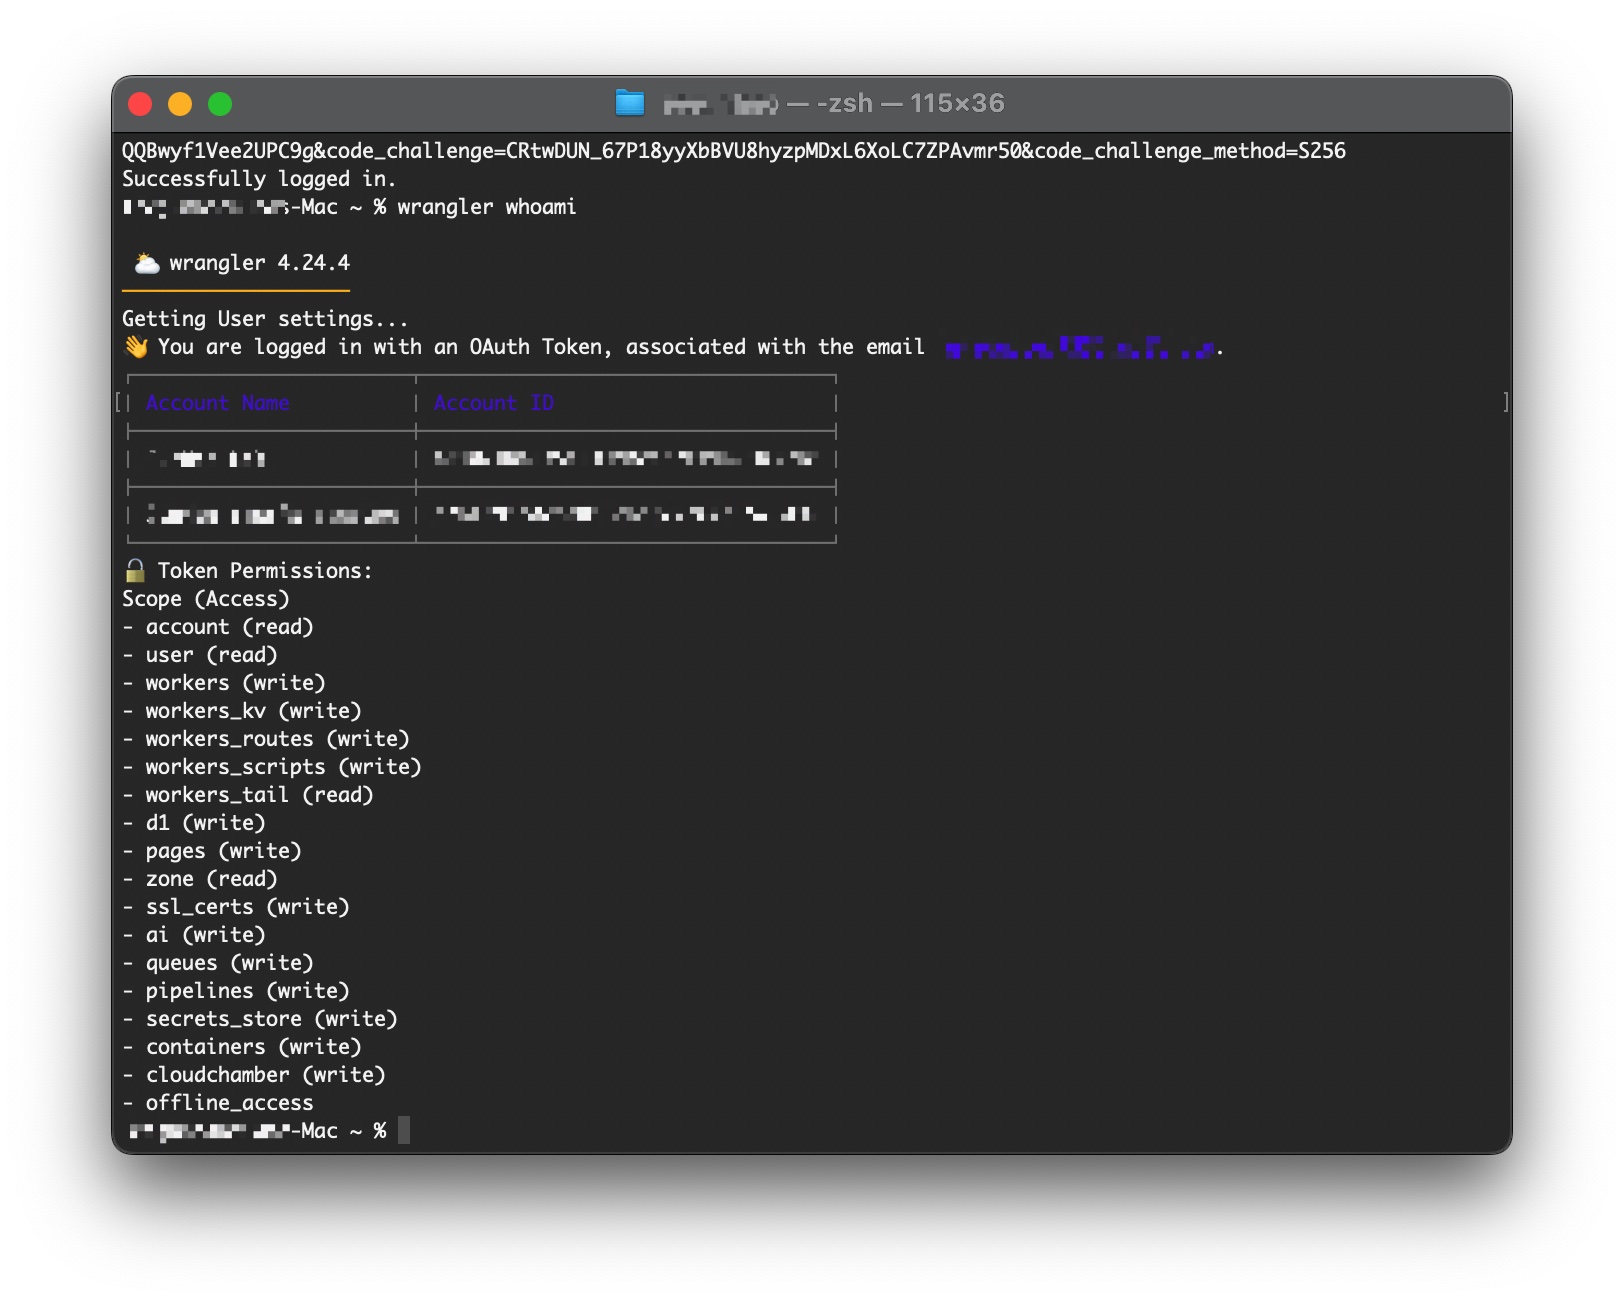
Verify Authentication
Confirm the authentication was successful:
wrangler whoami
Expected output: Your Cloudflare account email address
Example:
👋 You are logged in with an OAuth Token, associated with the email 'your-email@example.com'!
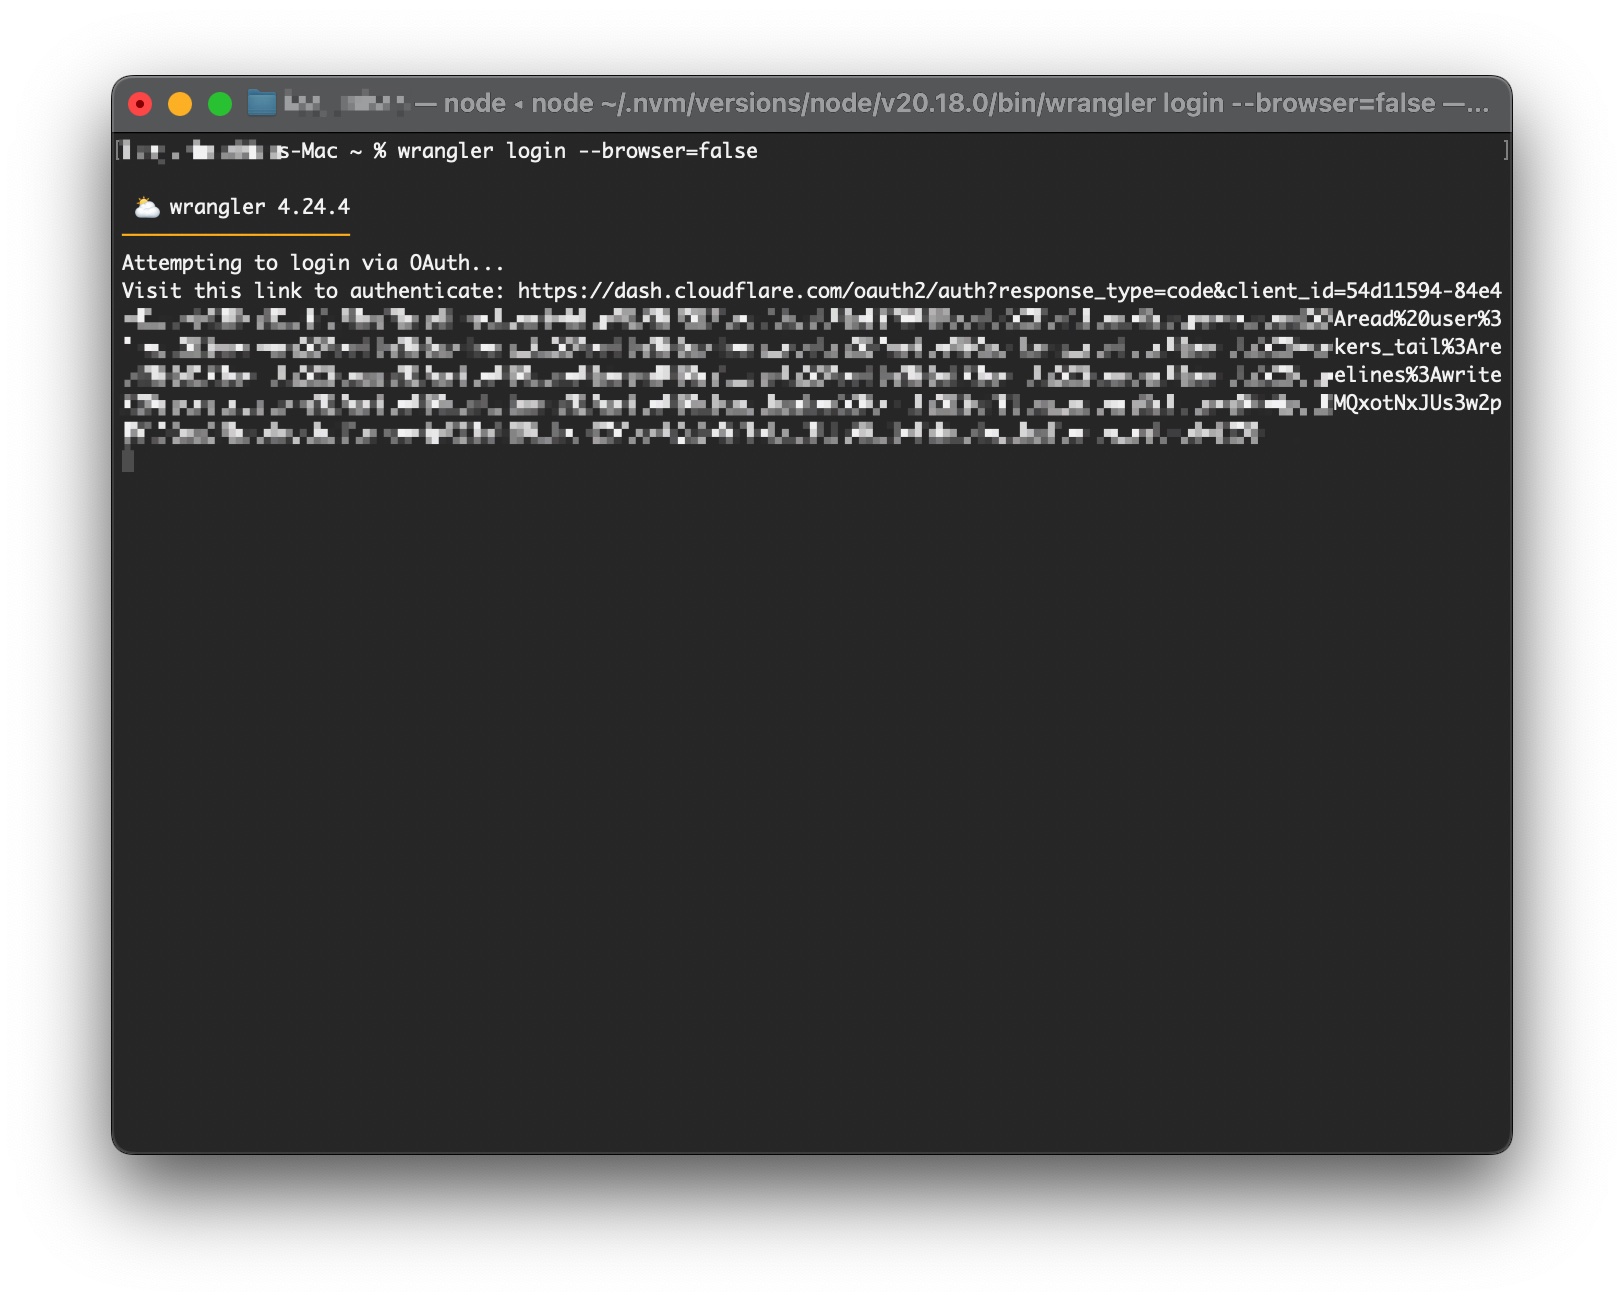
Troubleshooting Authentication
Browser doesn't open automatically:
wrangler login --browser=false
This will provide a manual login URL to copy and paste.
Authentication fails
- Check your internet connection
- Disable VPN if you're using one
- Try a different browser
- Clear browser cache and cookies for cloudflare.com
Permission denied errors
- Ensure you're using the correct Cloudflare account
- Verify your account has the necessary permissions
- Try logging out and back in:
wrangler logoutthenwrangler login
4. SSH Key Setup (Optional but Recommended)
Setting up SSH keys makes GitHub operations more secure and convenient.
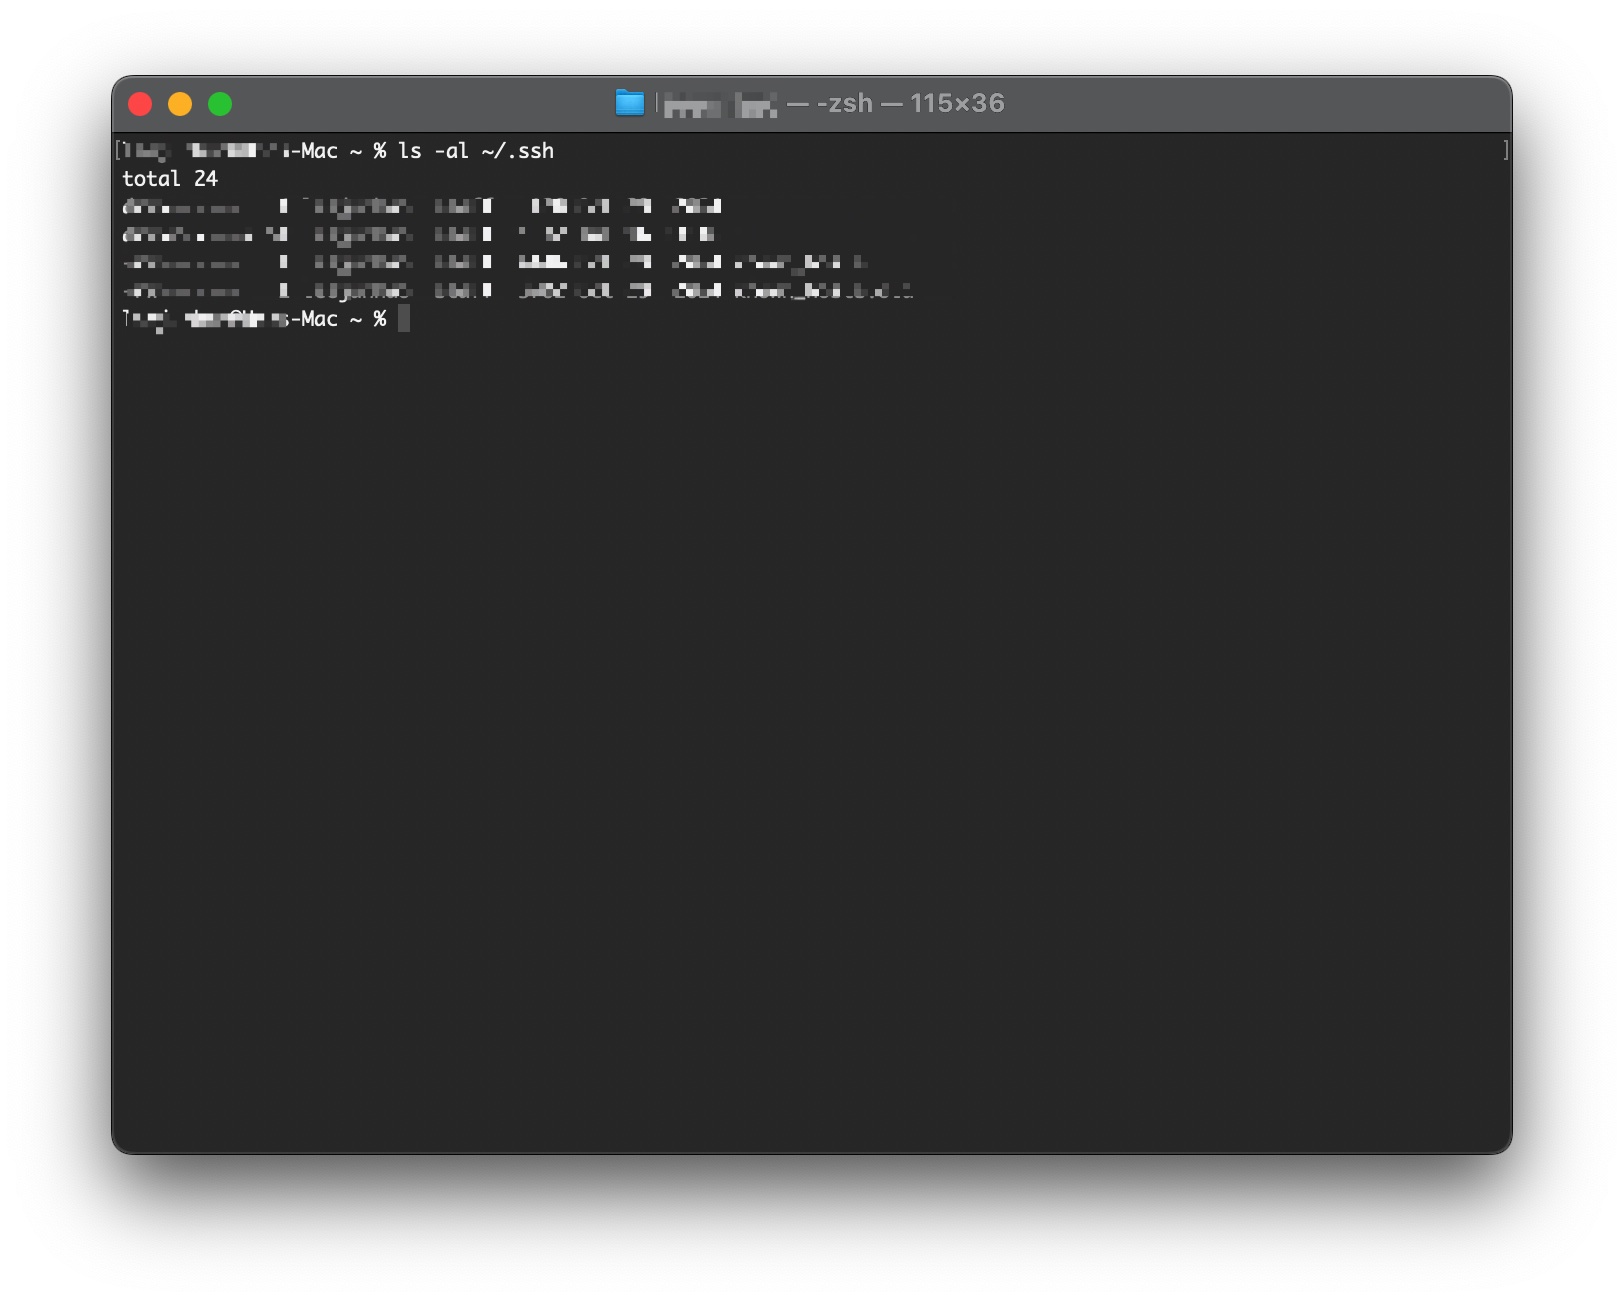
Generate SSH Key
Check for existing SSH keys:
ls -al ~/.ssh
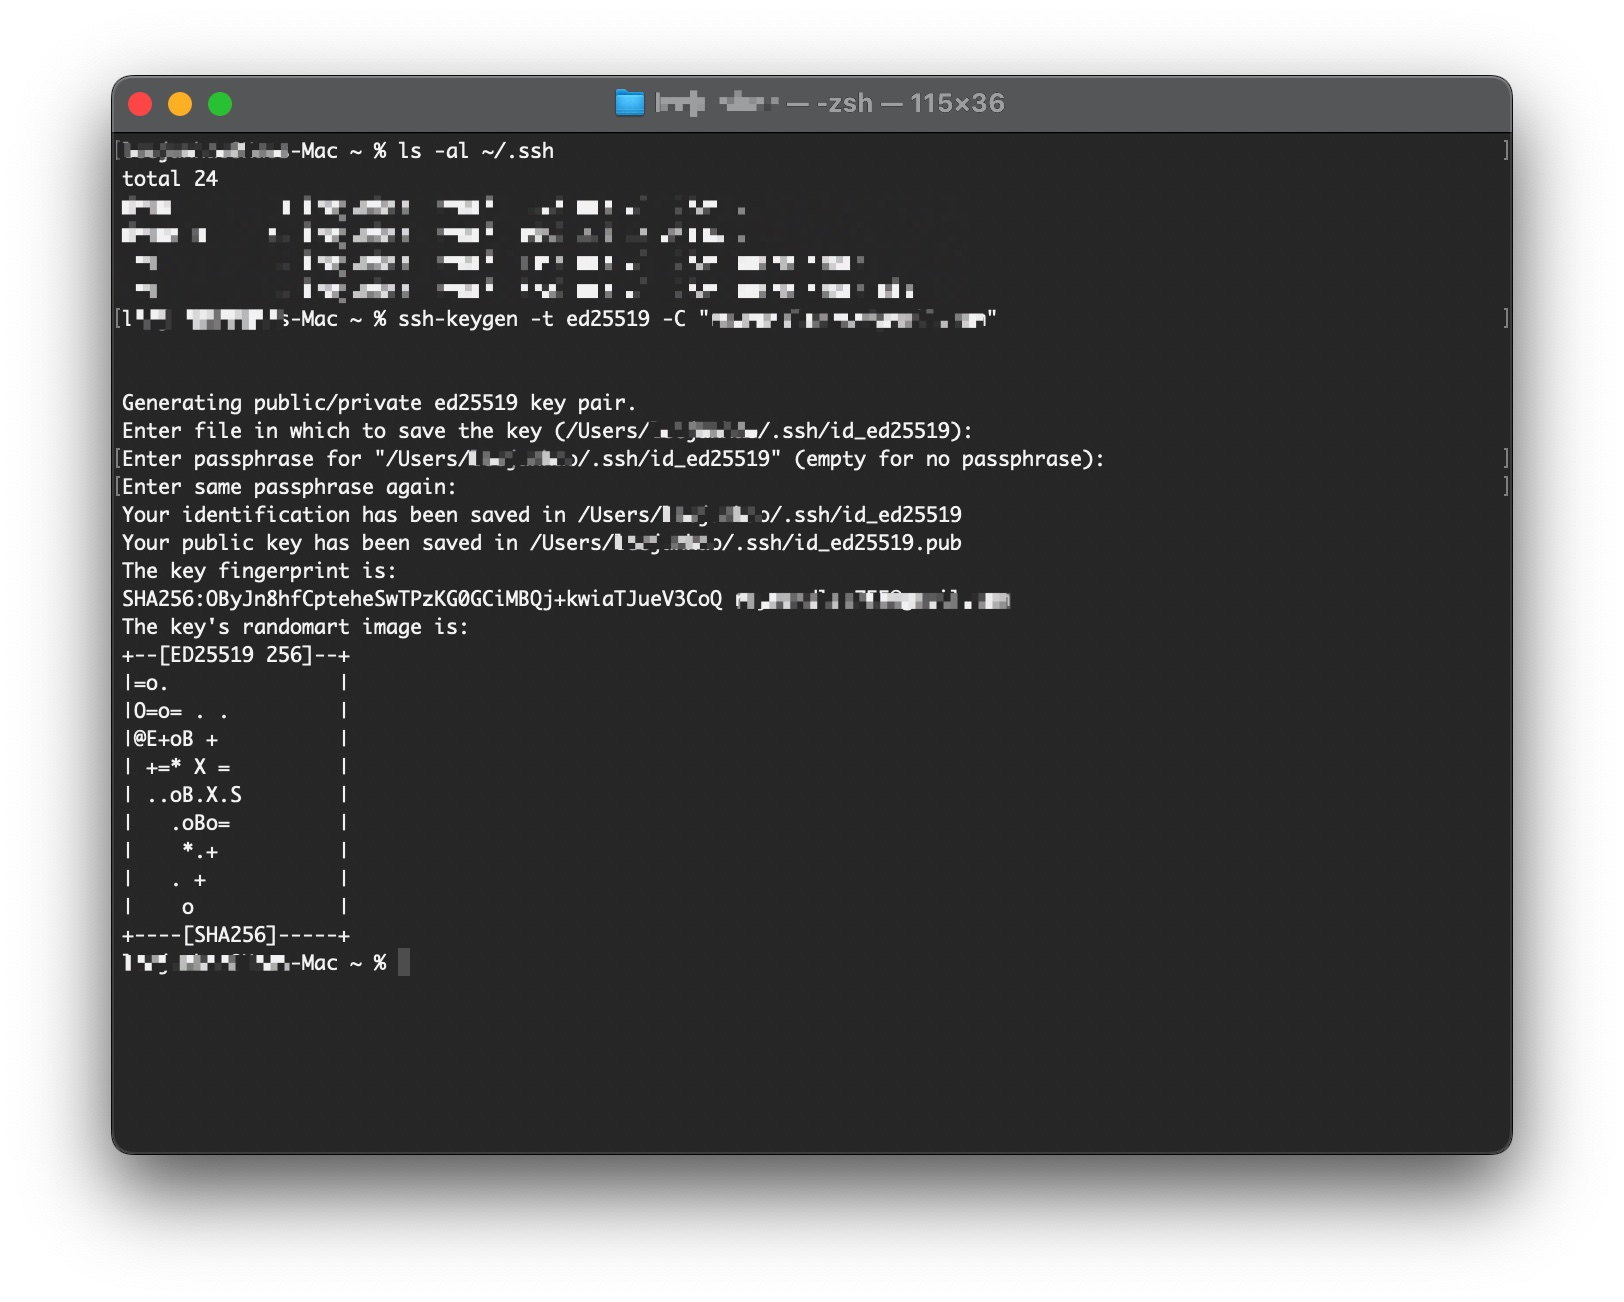
Generate new SSH key (if needed):
ssh-keygen -t ed25519 -C "your-github-email@example.com"
When prompted:
- Press Enter to accept the default file location
- Enter a passphrase (optional but recommended)
Add SSH Key to GitHub
Copy your public key:
- macOS
- Linux
- Windows (Git Bash)
pbcopy < ~/.ssh/id_ed25519.pub
cat ~/.ssh/id_ed25519.pub | xclip -selection clipboard
cat ~/.ssh/id_ed25519.pub | clip
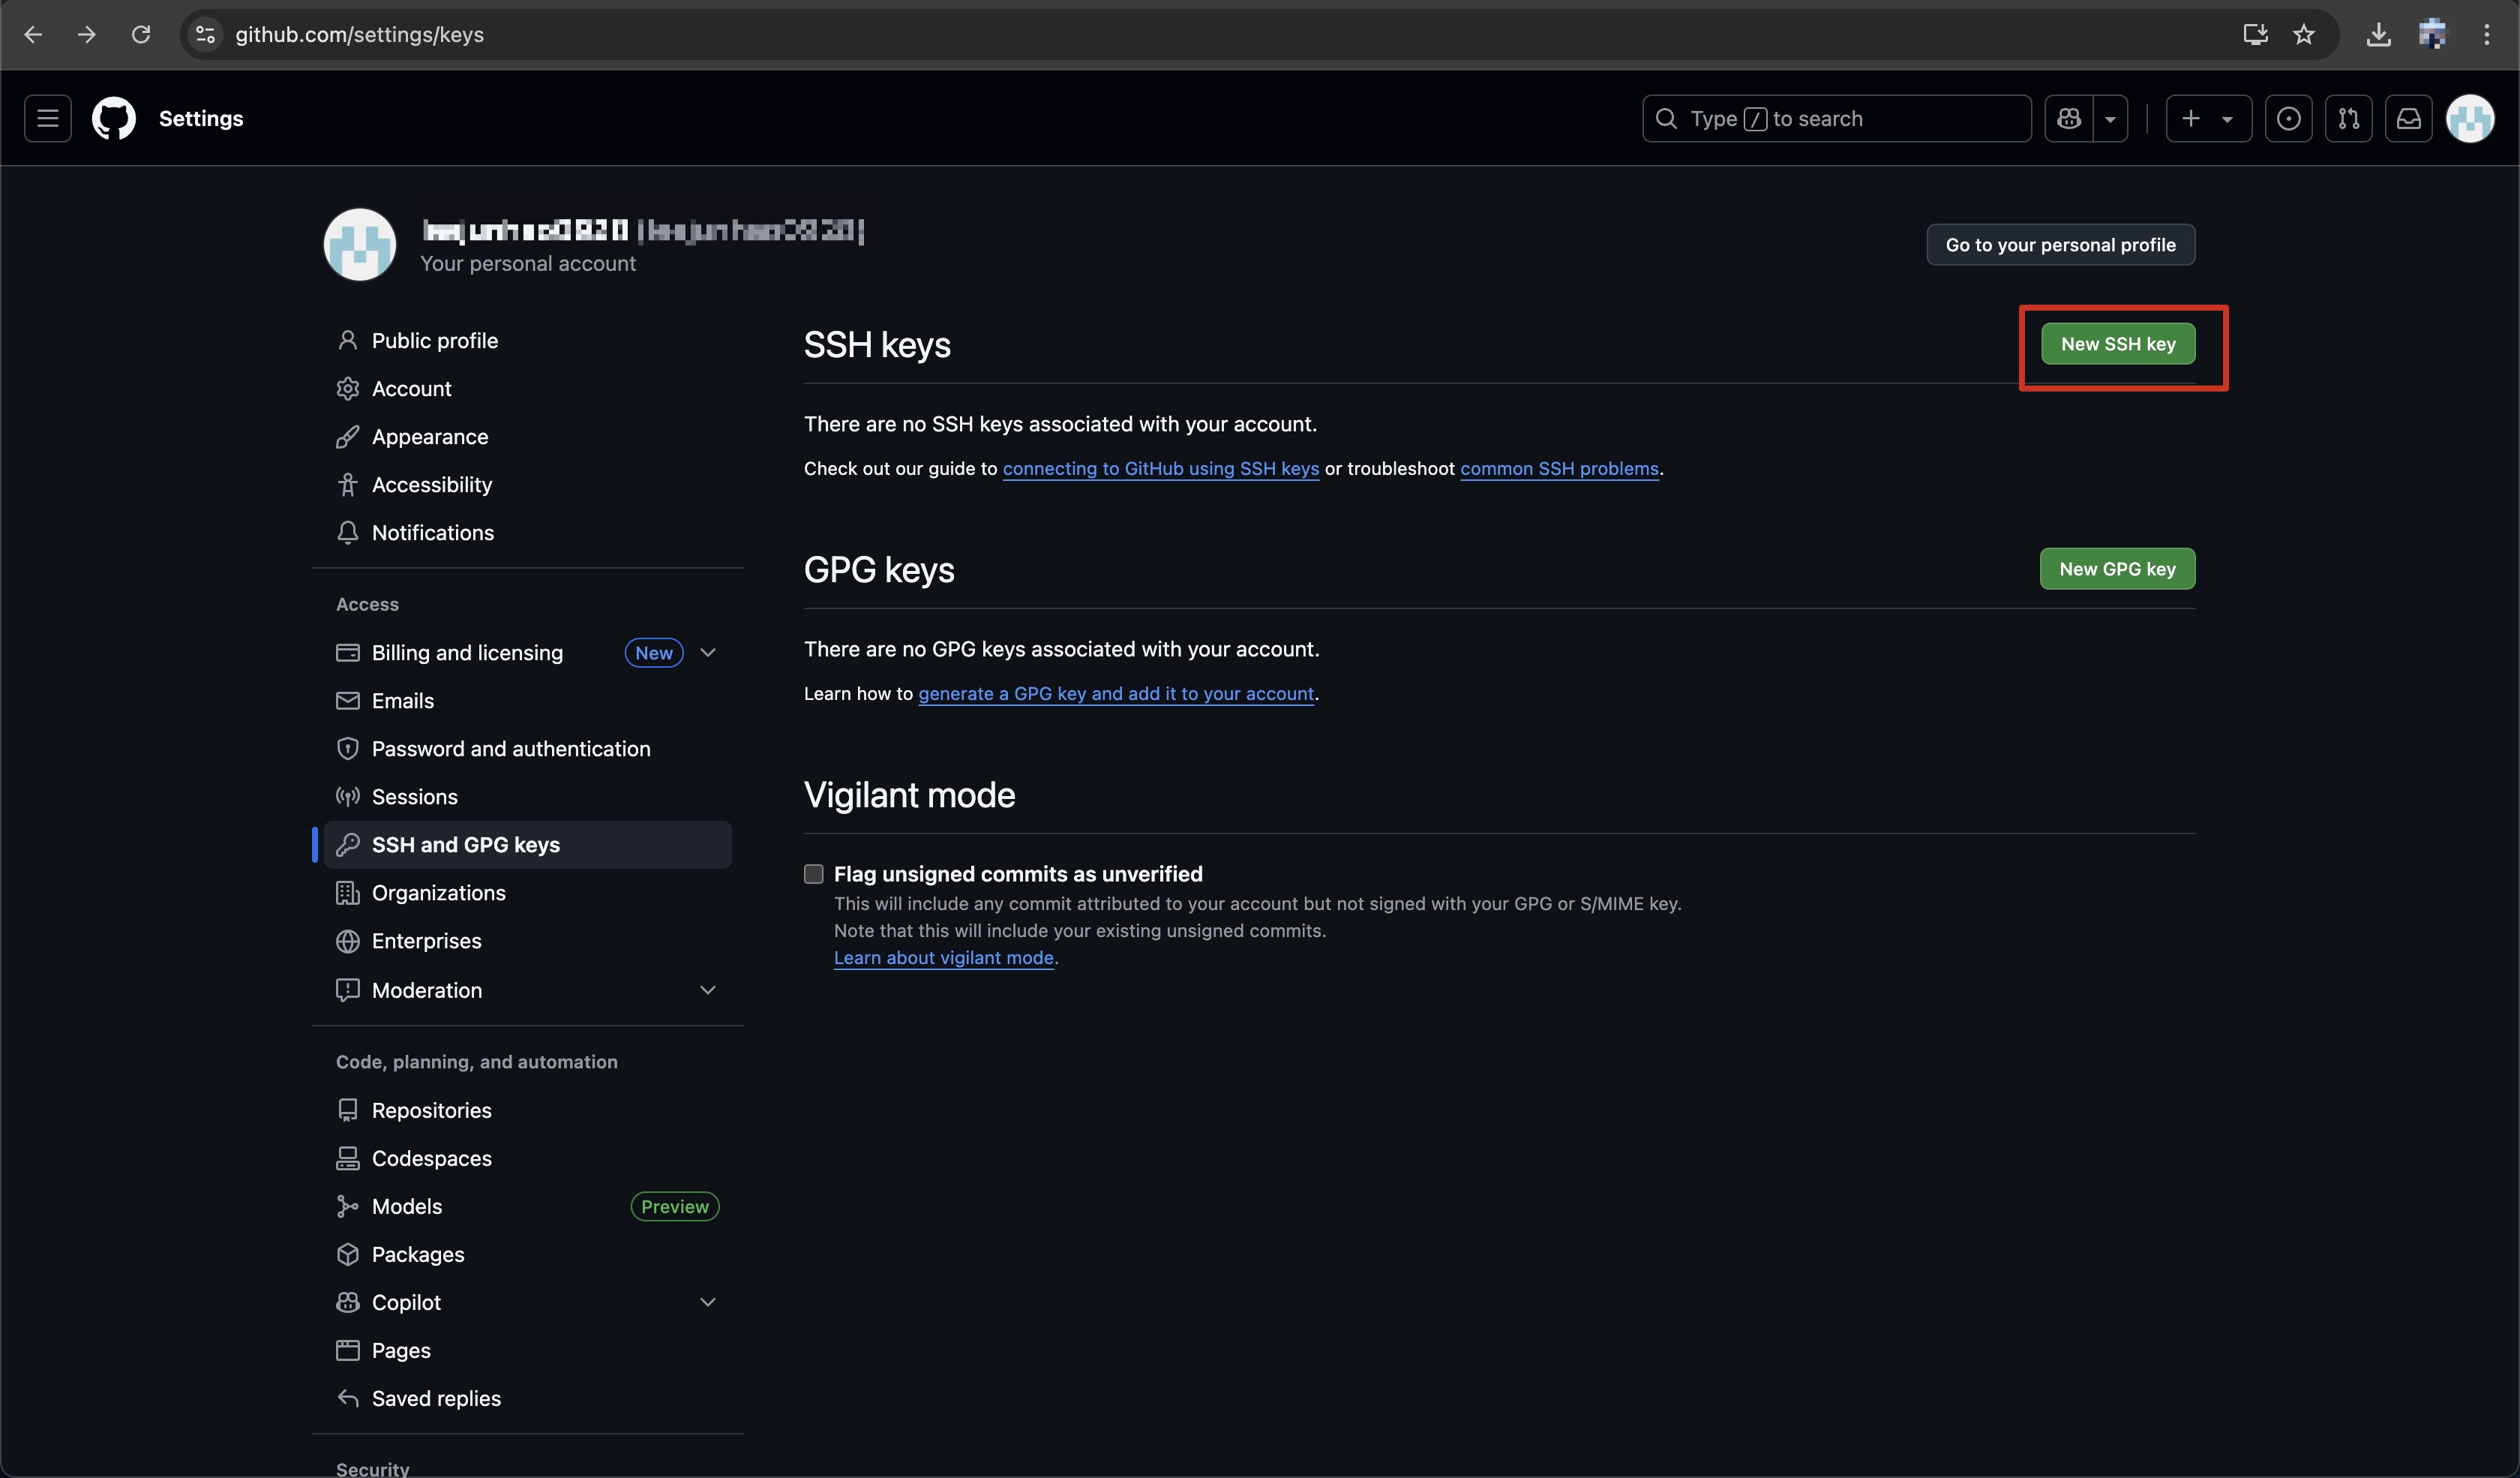
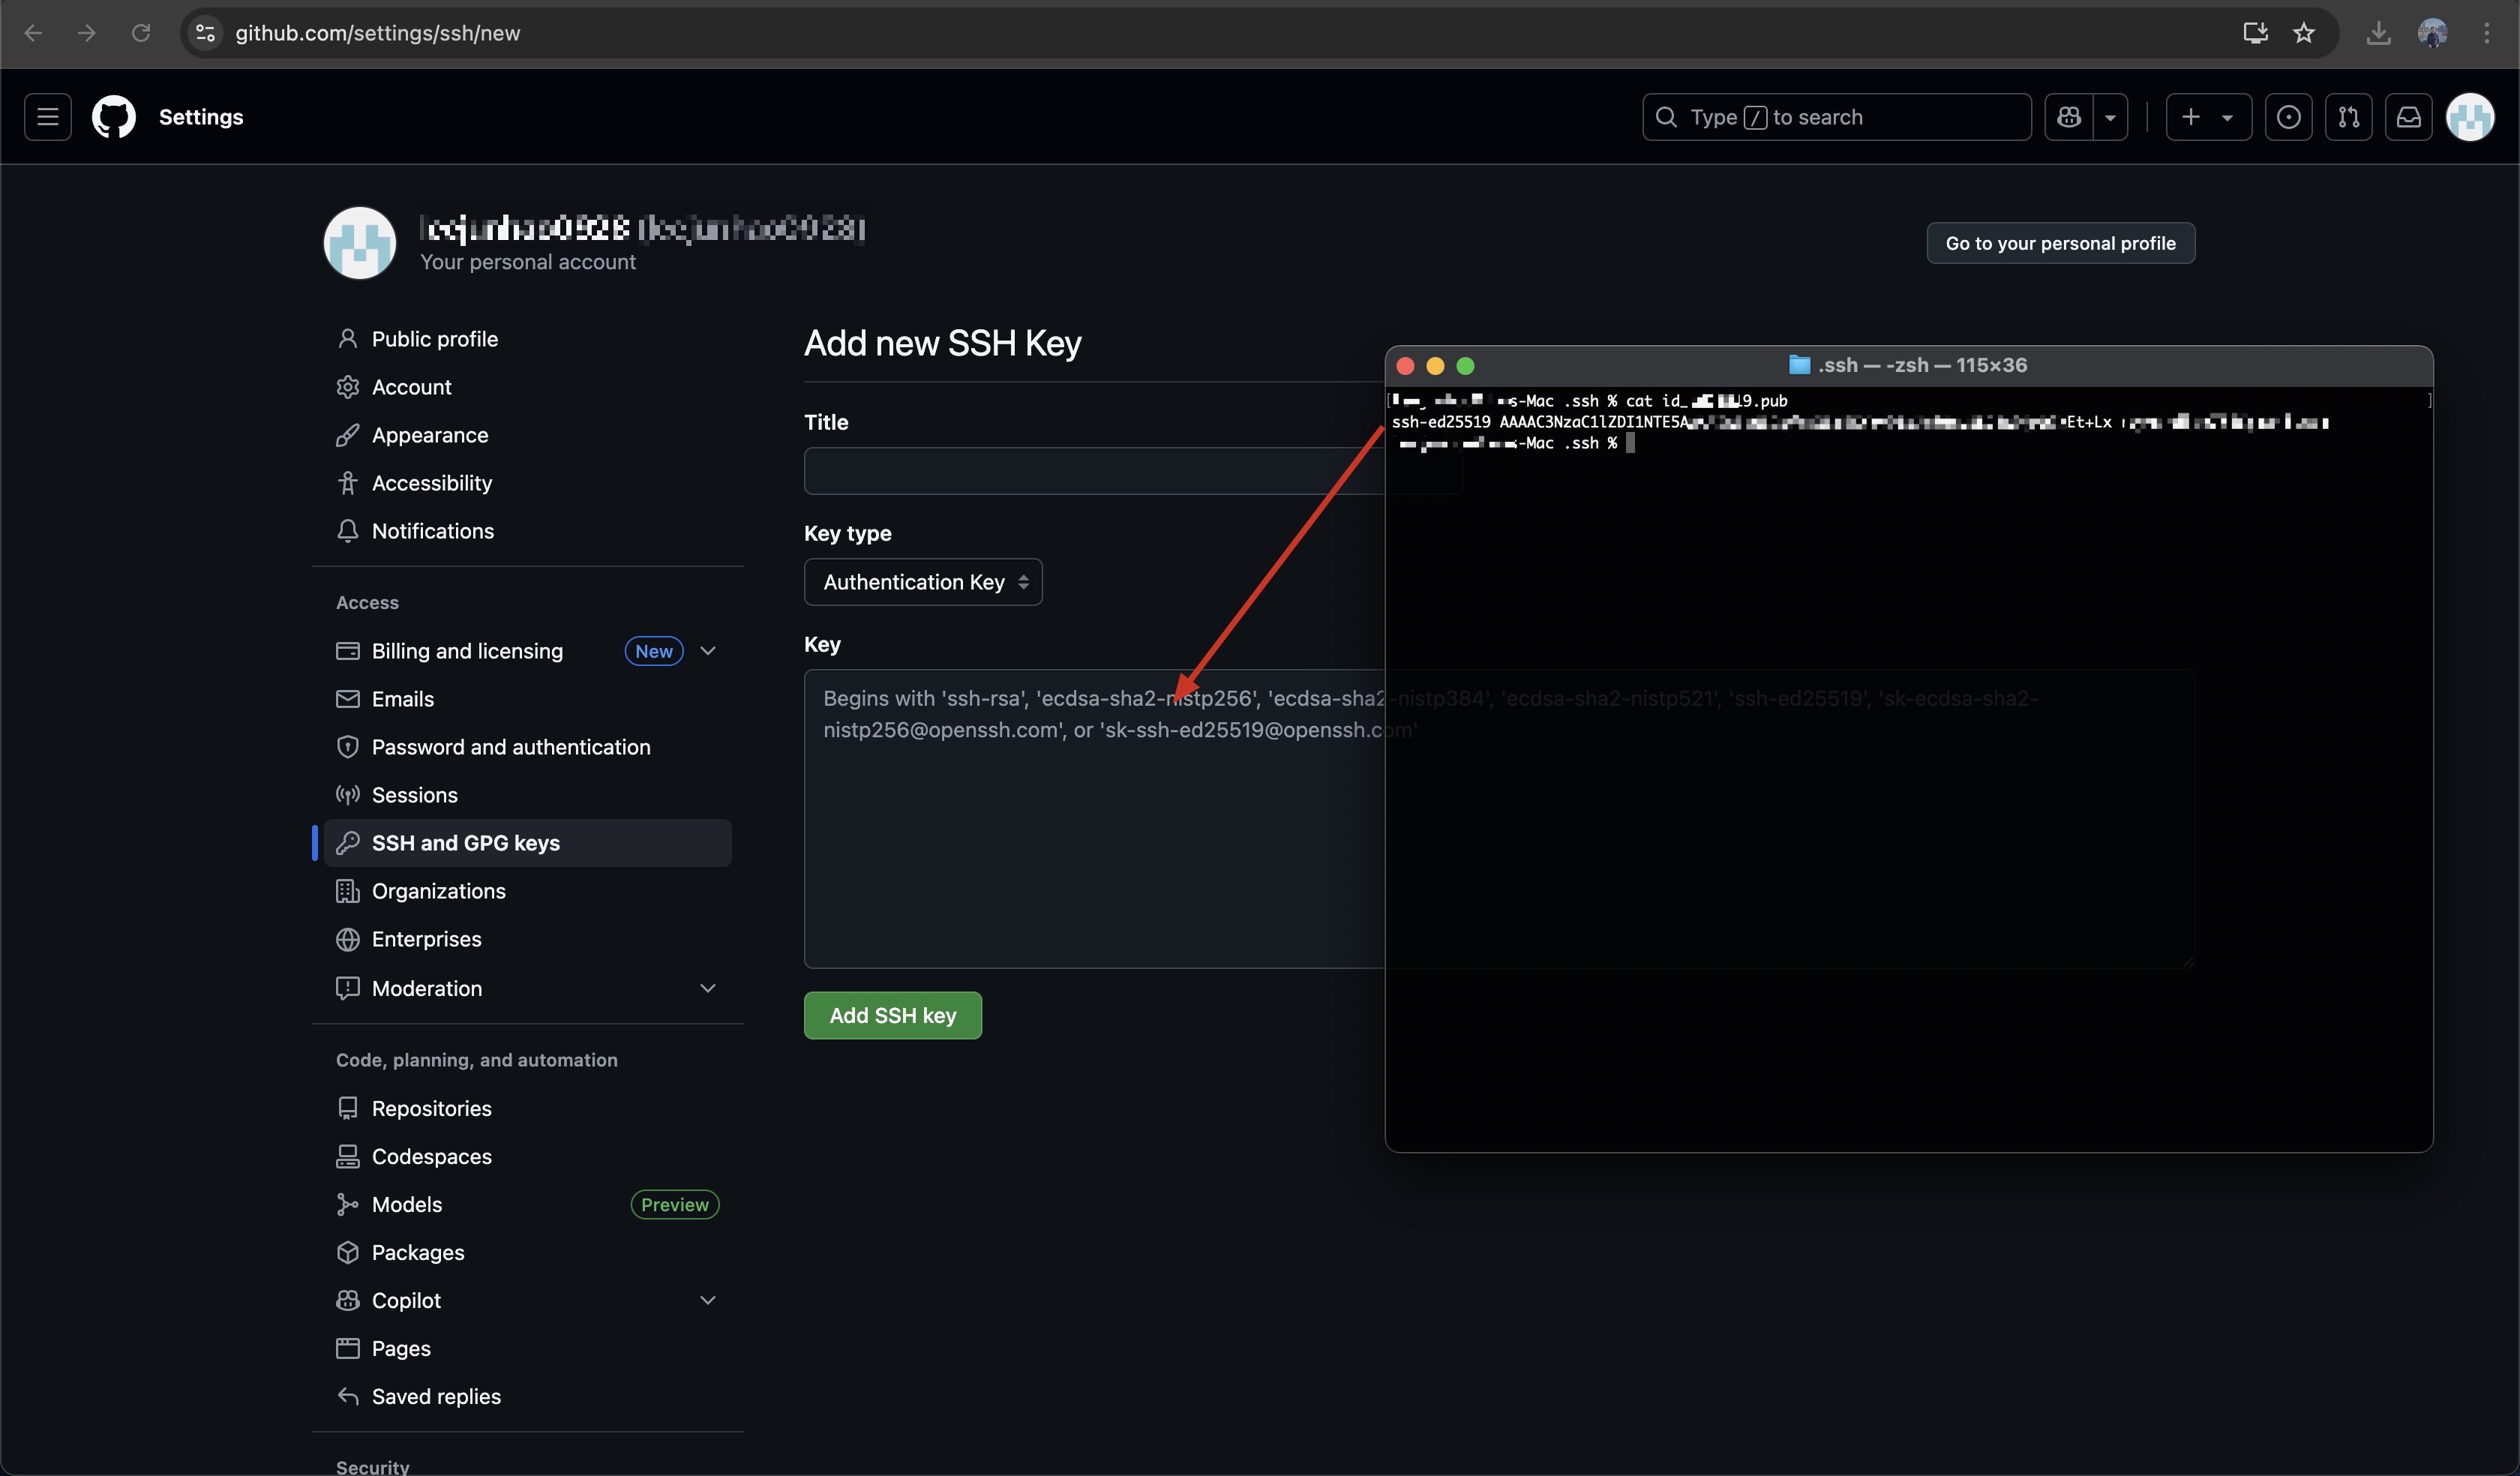
Add to GitHub:
- Go to GitHub → Settings → SSH and GPG keys
- Click "New SSH key"
- Give it a descriptive title (e.g., "Workshop Laptop")
- Paste your public key
- Click "Add SSH key"
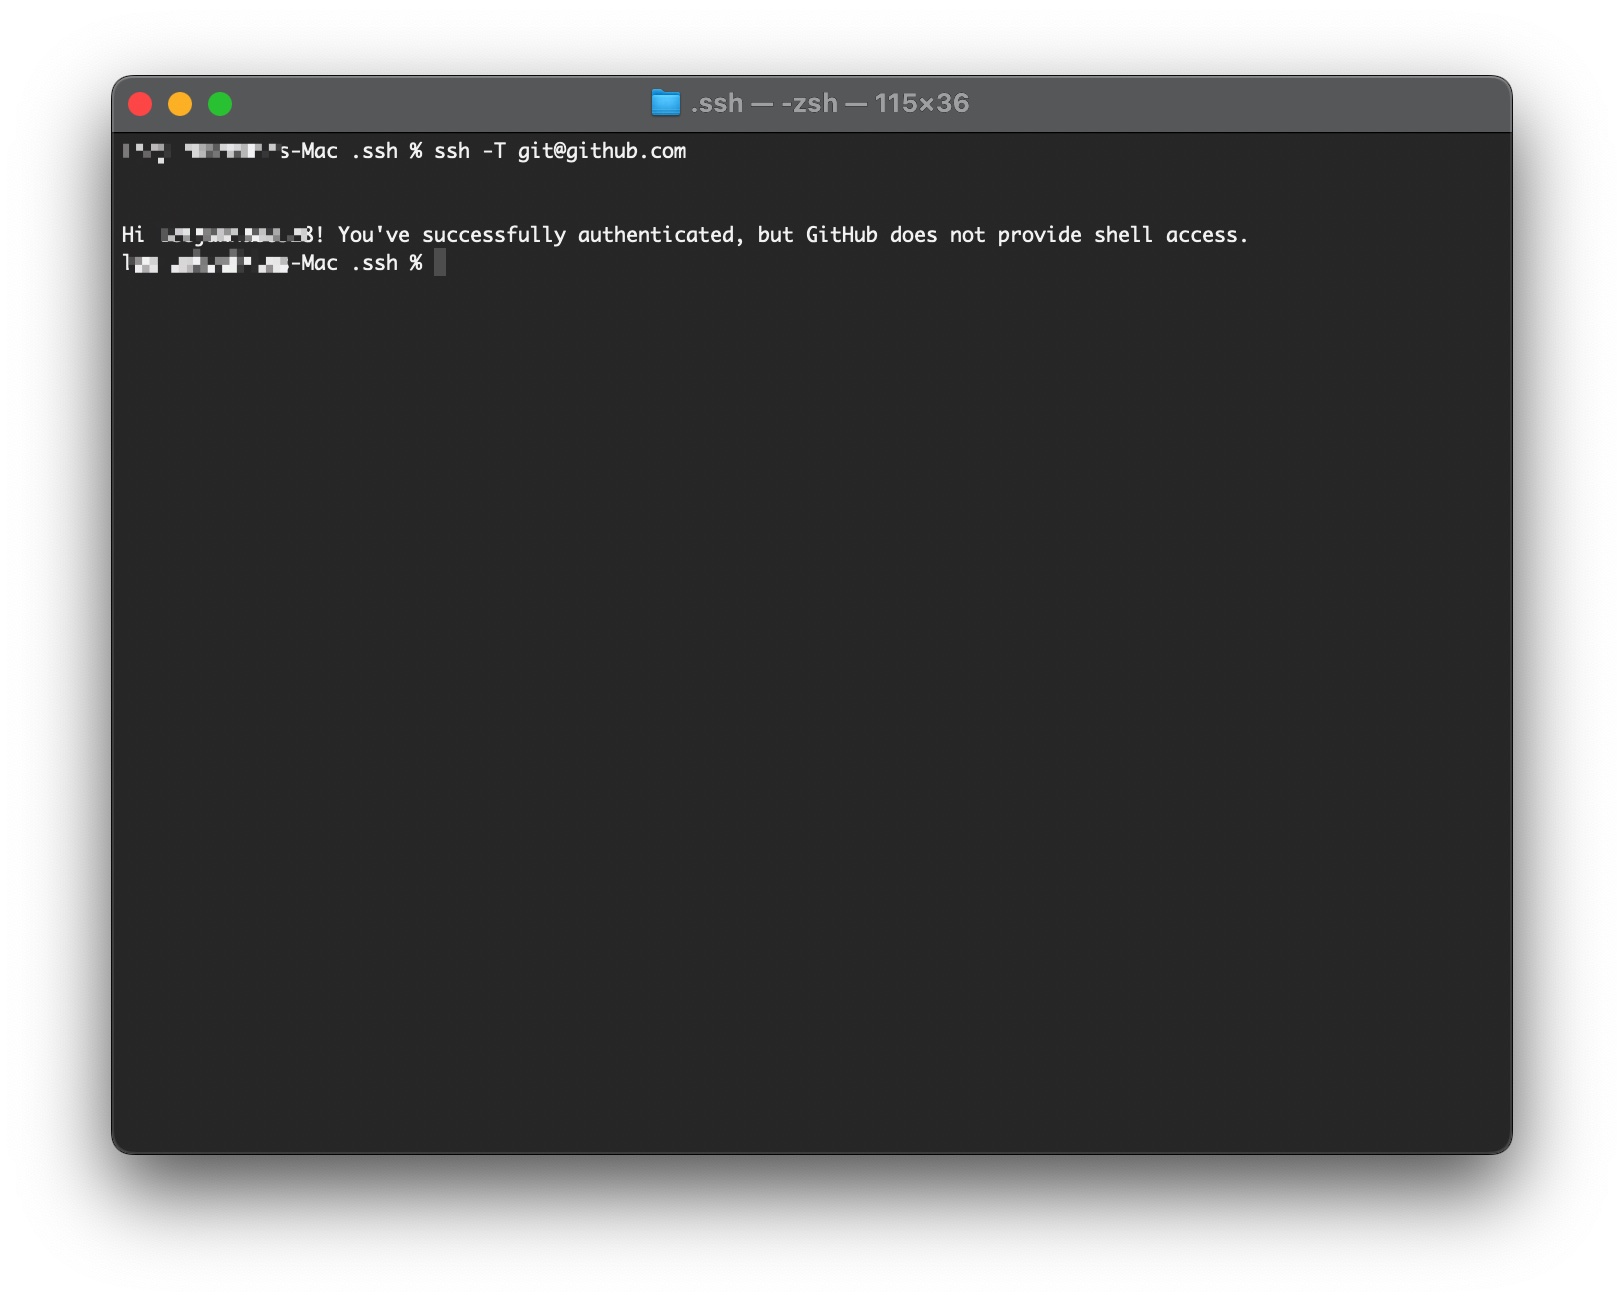
Test SSH Connection
ssh -T git@github.com
Expected response:
Hi [username]! You've successfully authenticated, but GitHub does not provide shell access.
5. Account Verification Checklist
Before proceeding, verify all accounts are properly set up:
GitHub Account
- GitHub account created and verified
- Can log in to github.com
- Git configured with GitHub email and username
- SSH key added (optional but recommended)
Cloudflare Account
- Cloudflare account created and verified
- Can log in to dash.cloudflare.com
- Wrangler CLI authenticated successfully
-
wrangler whoamishows correct email
Authentication Tests
-
git config --global user.nameshows your name -
git config --global user.emailshows your email -
wrangler whoamishows your Cloudflare email - SSH test to GitHub successful (if configured)
What's Next?
Excellent! Your accounts are now set up and authenticated.
Next Step: Repository Setup - Fork and clone the project repositories to your local machine.
Need Help?
GitHub Issues:
Cloudflare Issues:
Wrangler Issues:
- Wrangler Documentation
- Check the Troubleshooting Guide
Your accounts are the foundation for everything we'll build. Great job getting this set up! 🚀