Who should use this module ?
Welcome to the Jumpstart Module! This guide is specifically designed for participants who missed Module 1 and need to quickly catch up. It provides a streamlined setup process to prepare your project environment for Module 2. While this guide covers all essential steps, it intentionally offers a more condensed experience with focused instructions rather than detailed explanations, allowing you to efficiently join the current stage of the workshop.
If you have successfully completed Module 1, please skip this module, and continue to M2 Database Setup.
Step 1: Checking Prerequisite
Ensure that you have completed the steps below:
Step 2. Check Directory
Before running the jumpstart script, you need to ensure that you're in the correct directory.
To confirm that, run the following commands in your terminal.
# Verify you're in the right location
pwd
# Should show something like: /Users/[username]/blazehack

# List projects
ls -la
# Should show: blazenote-frontend/ and blazenote-backend/

Step 3. Run jumpstart script
Still in the blazehack directory, run the jumpstart script.
curl -o jumpstart-m2.sh https://pub.blazehack.com/jumpstart-m2.sh && \
chmod +x jumpstart-m2.sh && \
./jumpstart-m2.sh
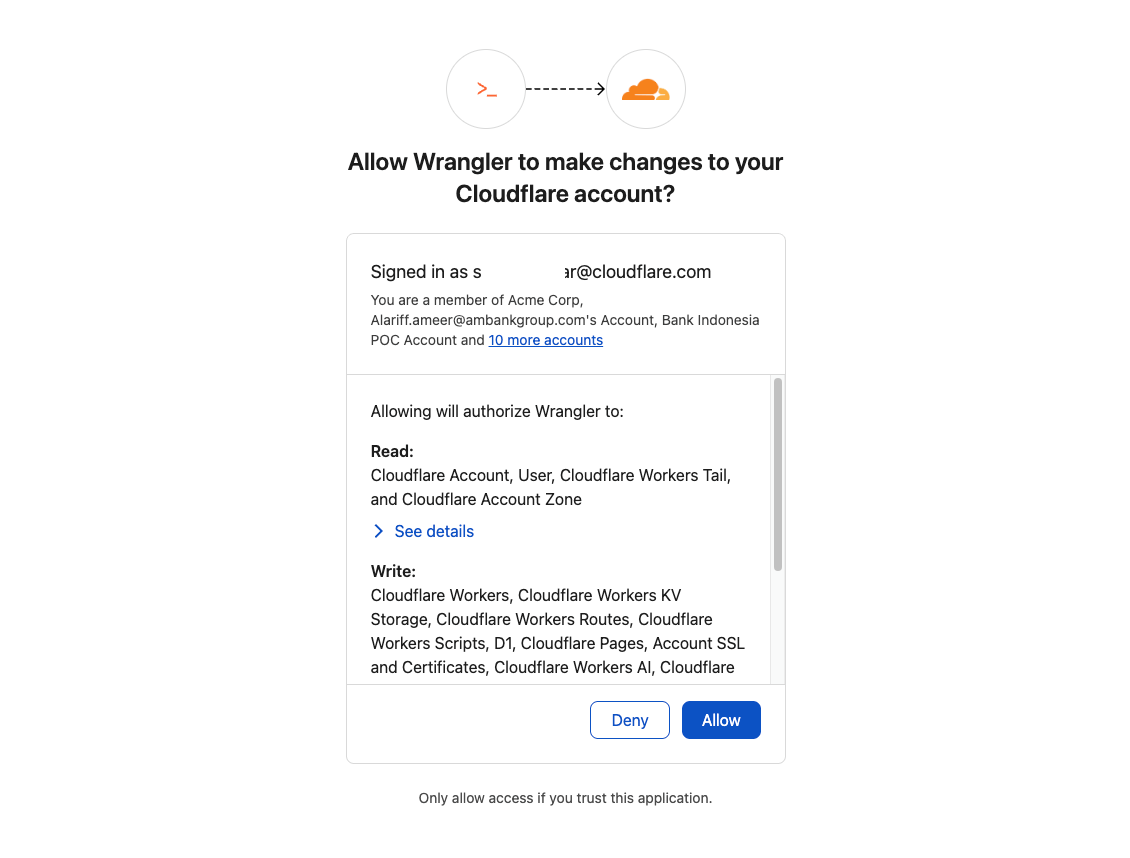
Click Allow when prompted. This will allow Wrangler to make changes to your account.
Step 4. Setting up the backend
The blazenote-backend has now been succesfully deployed to Cloudflare.
Cloudflare supports connecting your GitHub and GitLab repository to your Cloudflare Worker, and will automatically deploy your code every time you push a change.
View the video and use the checklist to help you complete the task.
Open your Cloudflare Dasboard ➞ Workers & Pages
Click on the blazenote-backend application and click Settings.
Under Build, click the GitHub button.
Select your GitHub account. Login if required.
Configure your project using the following settings & click Connect :
- Branch: starter
- Build & deploy commands
- Build command: npm install
- Deploy command: npx wrangler deployOnce connected, open Cloudflare dashboard in a new tab and copy your domain.
Back to your Workers application (Dashboard ➞ Workers & Pages ➞ blazenote-backend), under Domain & Routes, click Add.
Enter a custom domain in this format: blazenote-backend.[your-domain] — for example: blazenote-backend.earthy-captain.sxptest.com.
Click Add Domain. Wait around 10secs for the domain to be activated.
Select your custom domain, right click and open in a new tab. Hello Blazehack! should be displayed. Copy the url and save it in a notepad.
Step 5. Setting up the frontend
Follow the steps below to complete the frontend setup.
View the video and use the checklist to help you complete the task.
Open your Cloudflare Dasboard ➞ Workers & Pages
Click Create
On the Pages tab, click the Import an existing Git repository.
Select your Github account and choose blazenote-frontend repository. Click Begin setup.
Configure your project using the following settings & click Connect:
- Production branch:
starter
- Framework preset:
None
- Build command:
npm install && npm run build
- Build output directory:
dist
- Production branch:
Expand the "Environment Variables (Advanced)" section and add the following variable. This variable will specify the backend server that the frontend application should communicate with.
- Variable name:
VITE_API_BASE_URL
- Value:
https://blazenote-backend.[your domain]NO TRAILING SLASH, example below
- Variable name:
✅ VITE_API_BASE_URL = https://blazenote-backend.breezy-token.sxptest.com
❌ VITE_API_BASE_URL = https://blazenote-backend.breezy-token.sxptest.com/
Once success, click Add custom domain.
Click Set up a custom domain.
Enter
blazenote-frontend.(your-domain), continue and activate domain.Wait around 30 secs for the custom domain to active.
Open your frontend url and you should see the blazenote app interface.
You're now ready to proceed to the next lesson.